Previous Post:
Following the Domain Controller configuration, this time I will cover configuring Exchange Server 2019 on Windows Server 2022. It appears that Windows Server 2025 will be supported starting with CU15.
The VM environment is as follows:
DC: Windows Server 2025, 4 Core, RAM: 4GB
EX: Windows Server 2022, 8 Core, RAM: 10GB, Exchange Server 2019 CU12
This was written based on the following resources.
[Step 1] Pre-configuration
Create a service account to be used for Exchange Server.

Assign the Enterprise Admins and Schema Admins permissions to the service account.
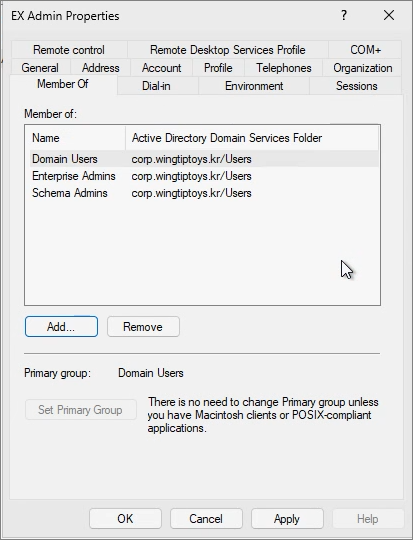
Join the server to the Active Directory (AD) using the service account.

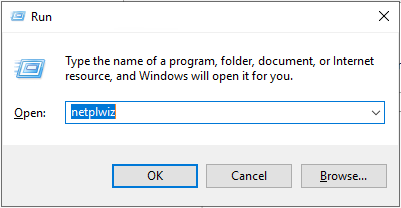
Run Netplwiz.
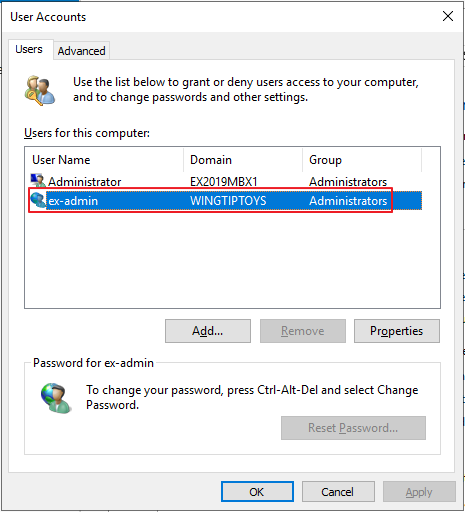
Grant Administrator permissions to the service account.
[Step 2] Virtual Memory Configuration
Since virtual memory can impact performance, it is highly recommended to set it to a fixed size.
System -> Advanced system settings -> Advanced -> Settings
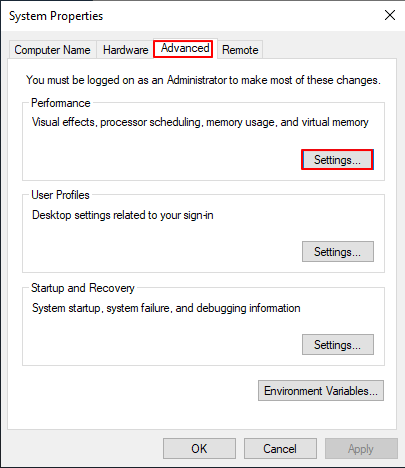
Advanced -> Change

Specify the virtual memory size -> Click Set -> Click OK.

According to the 2019 technical documentation, virtual memory is recommended to be set to 25% of the configured RAM, likely because the minimum recommended RAM is 128GB.
(However, in a test environment, it is recommended to set it to RAM + 10MB.)

OK

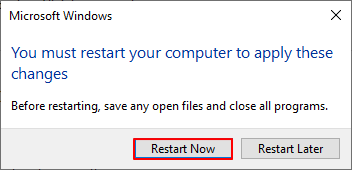
Restart Now
[Step 3] Install Required Features and Roles
Install the following prerequisite components.
Visual C++ Redistributable Package for Visual Studio 2012
Visual C++ Redistributable Package for Visual Studio 2013
Update for Visual C++ 2013 Redistributable Package - Microsoft Support
Unified Communications Managed API 4.0 Runtime
Download Unified Communications Managed API 4.0 Runtime from Official Microsoft Download Center
Right-click on the Start button -> Run PowerShell as Administrator.

Install the required features and roles using the command below:
Install-WindowsFeature Server-Media-Foundation, NET-Framework-45-Features, RPC-over-HTTP-proxy, RSAT-Clustering, RSAT-Clustering-CmdInterface, RSAT-Clustering-Mgmt, RSAT-Clustering-PowerShell, WAS-Process-Model, Web-Asp-Net45, Web-Basic-Auth, Web-Client-Auth, Web-Digest-Auth, Web-Dir-Browsing, Web-Dyn-Compression, Web-Http-Errors, Web-Http-Logging, Web-Http-Redirect, Web-Http-Tracing, Web-ISAPI-Ext, Web-ISAPI-Filter, Web-Lgcy-Mgmt-Console, Web-Metabase, Web-Mgmt-Console, Web-Mgmt-Service, Web-Net-Ext45, Web-Request-Monitor, Web-Server, Web-Stat-Compression, Web-Static-Content, Web-Windows-Auth, Web-WMI, Windows-Identity-Foundation, RSAT-ADDS, Failover-Clustering

#Failover-Clustering is required when configuring a Database Availability Group (DAG).

Click the link below to install the IIS URL Rewrite Module.
[Step 4] Installation Process
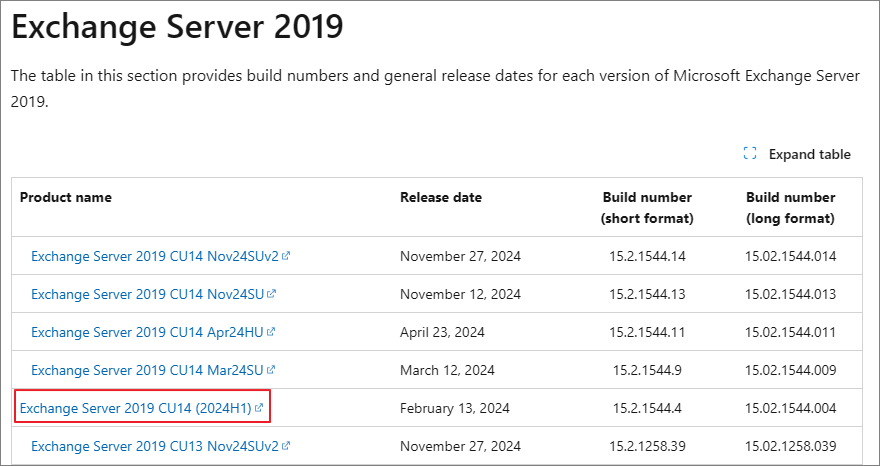
Download the latest Cumulative Update (CU) for Exchange Server 2019 from the Build Number page linked below.
(Note: Security Updates (SU) should be applied after installing the CU.)
Exchange Server build numbers and release dates | Microsoft Learn
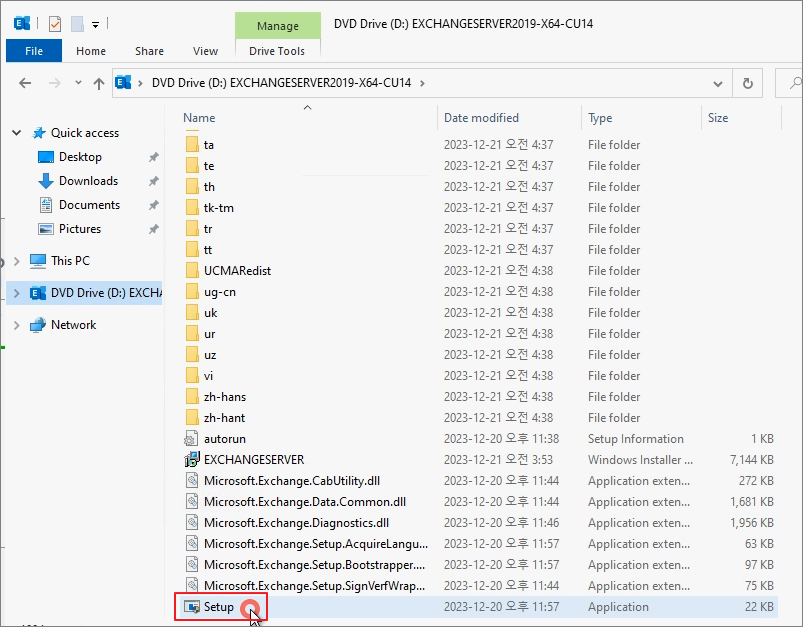
Run Setup from the installation disk or image.
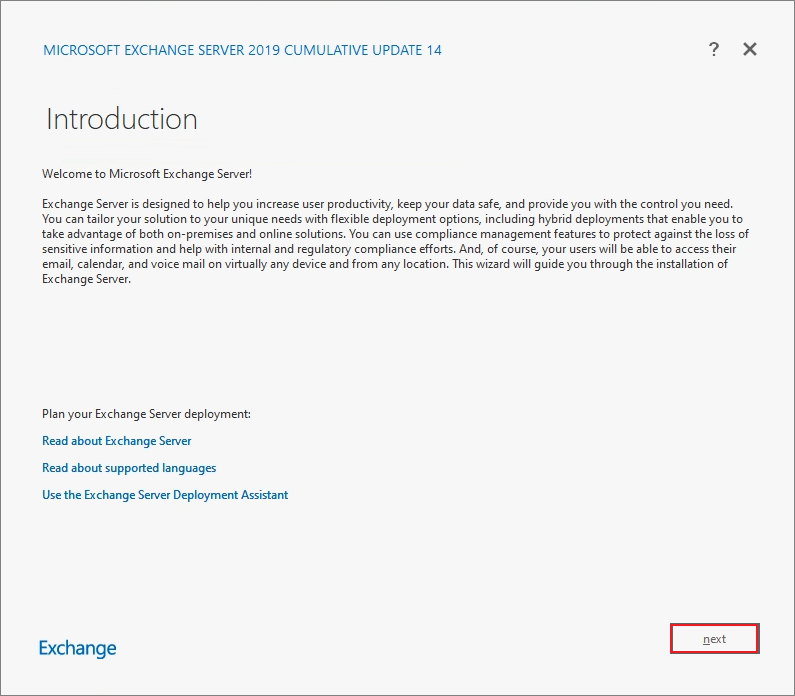
Don’t' check for updates right now -> next

Next
Check the second option -> Click Next.
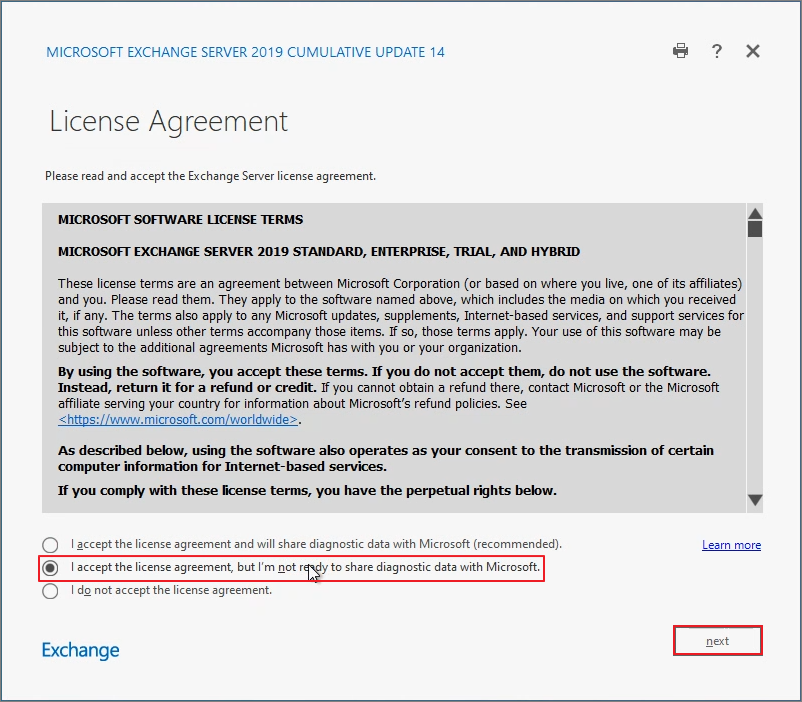
Don't user recommended settings -> Next

Mailbox role -> Next
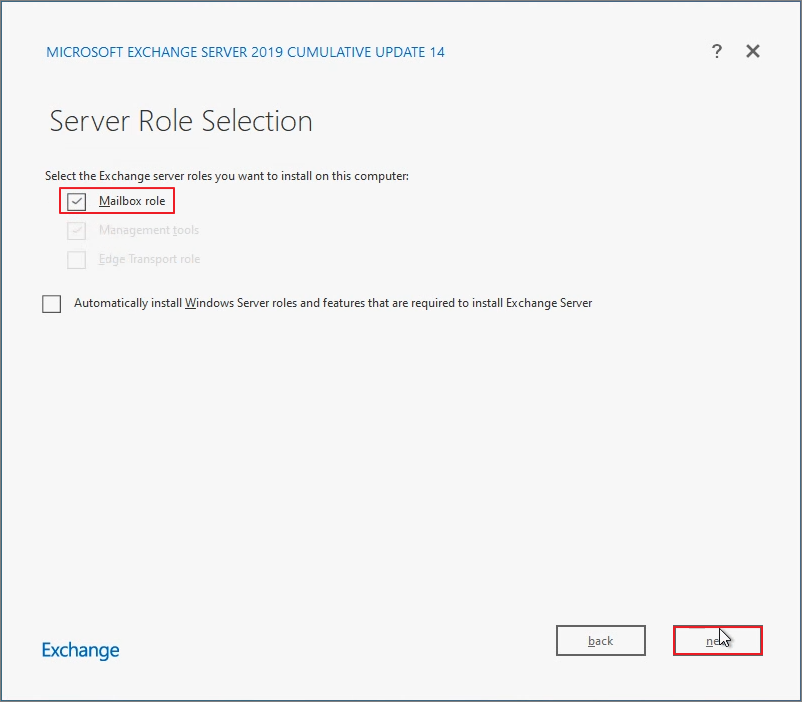
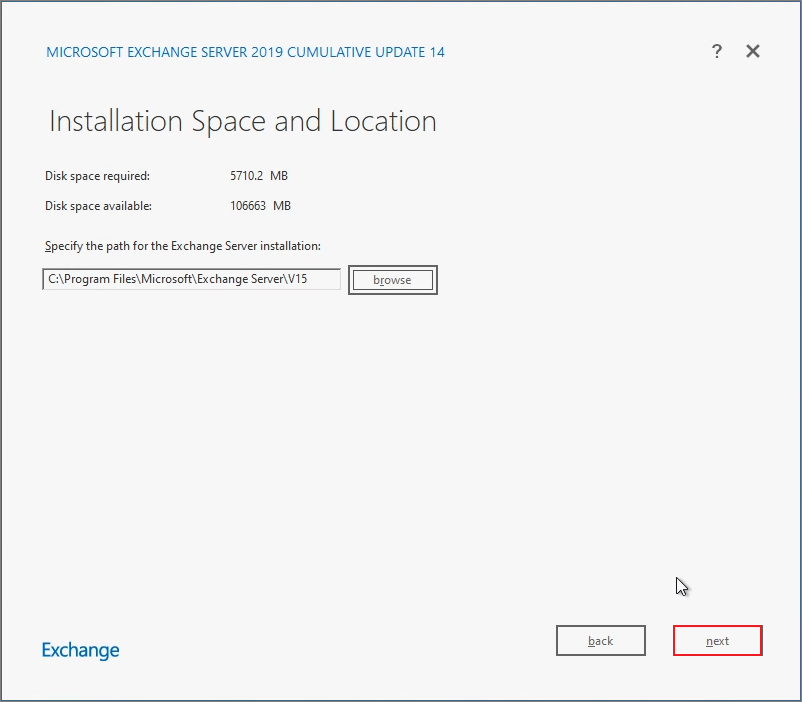
Specify the installation path -> Click Next.
Enter the Organization Name -> Click Next.
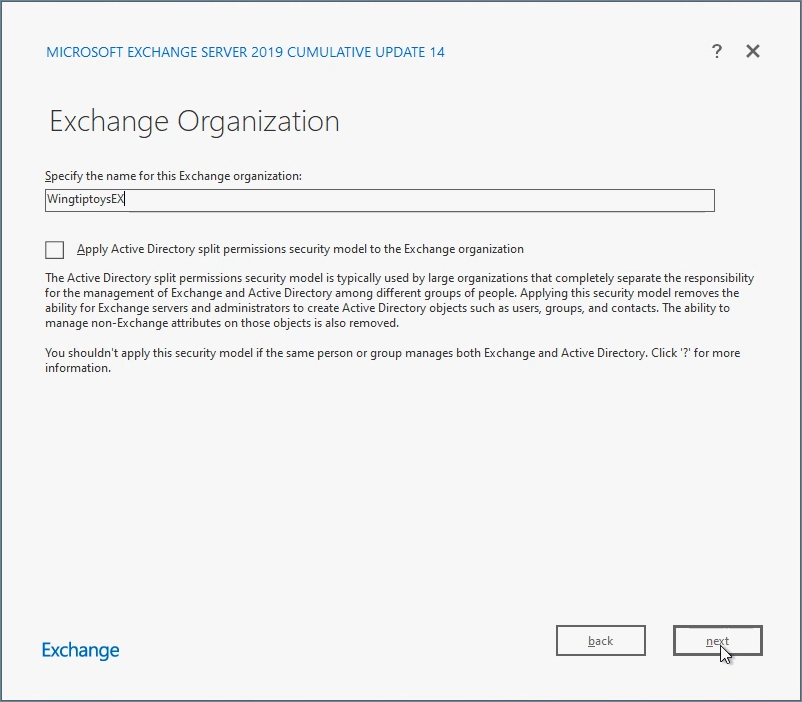
Next
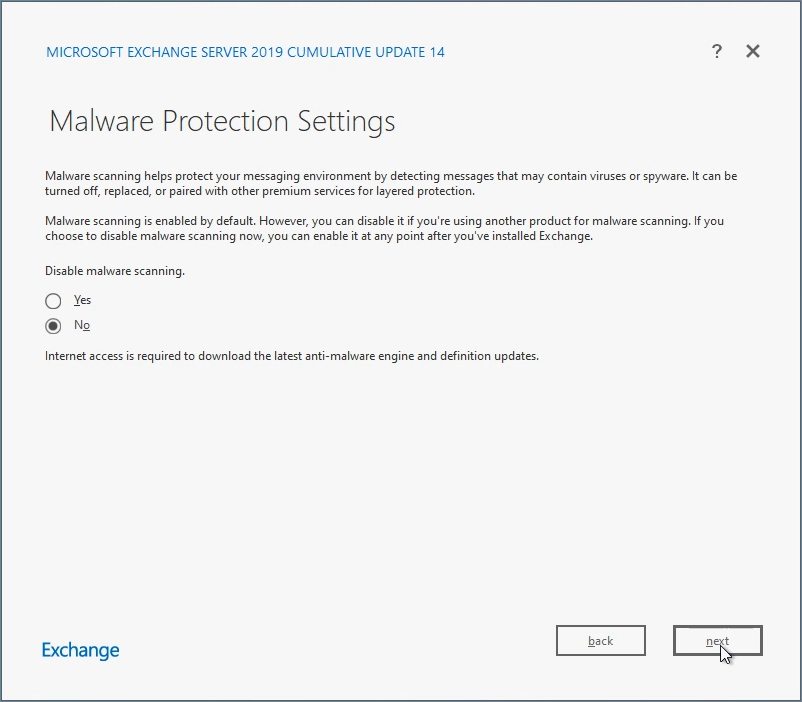
Install

Proceed with the installation process.

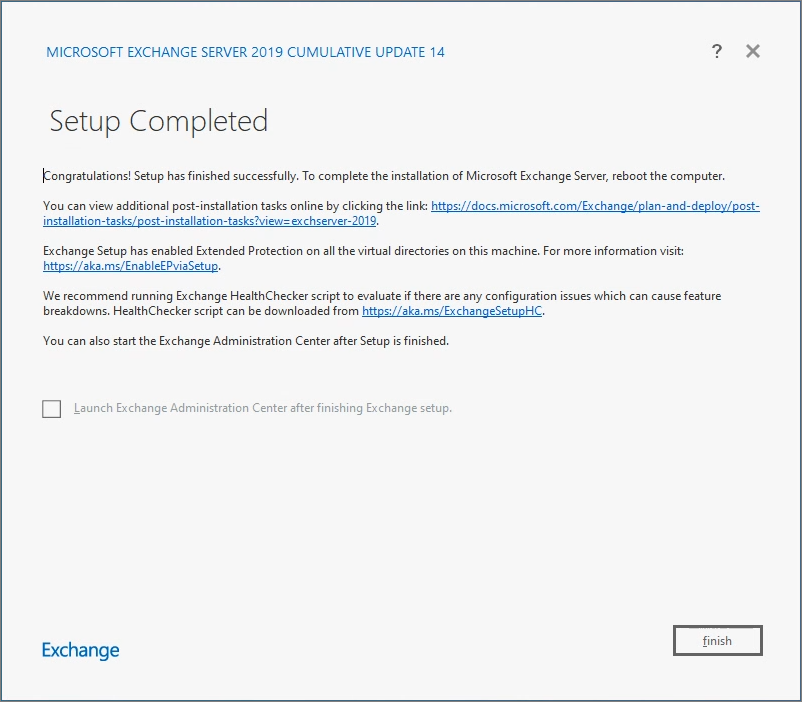
Installation complete.
[Step 5] Install SU (Security Update)
SU is a Security Update that must be installed after the Cumulative Update (CU).
Download the latest SU from the Build Number Page.

Proceed with the installation -> Click Next.

I accept the License Terms -> Next

The installation is in progress.

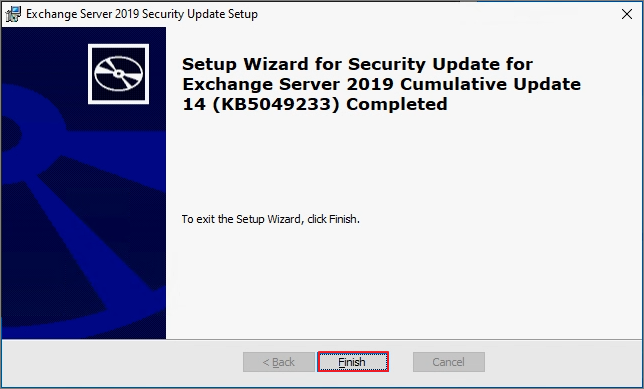
Finish
Click Yes -> The system will reboot.

Run the Exchange Admin Center (EAC).

Advanced

Click Continue to localhost (unsafe).

Sign in using the service account.

Verify that the connection is successful.

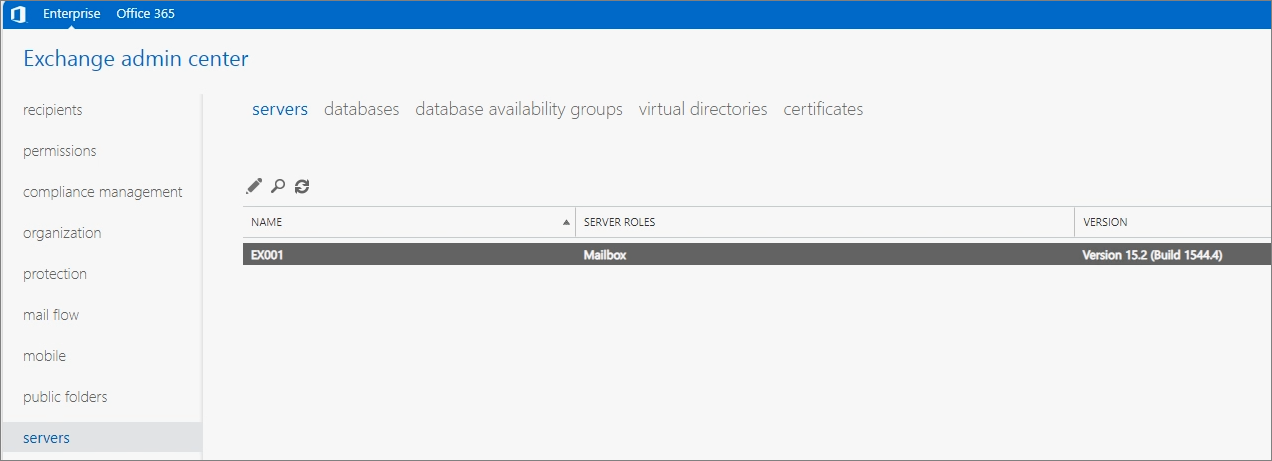
In the Servers menu, check the Build Number to confirm the version.
In the next post, I will cover the initial configuration steps.