반응형

This time, we will cover the topic of ADFS & WAP Upgrade & Migration.

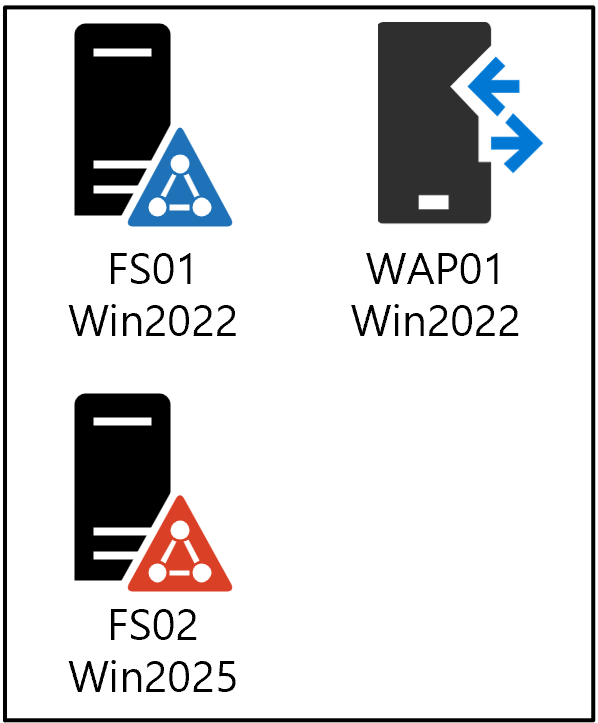
As indicated in the title, the upgrade and migration will be performed from Windows Server 2022 to 2025.

For reference, the ADFS configured on Windows Server 2022 will be referred to as ADFS2022, and the WAP configured on Windows Server 2025 will be called WAP2025.


Youtube: https://youtu.be/BYR4fl7o29o


Step 1. Installing ADFS 2025
 

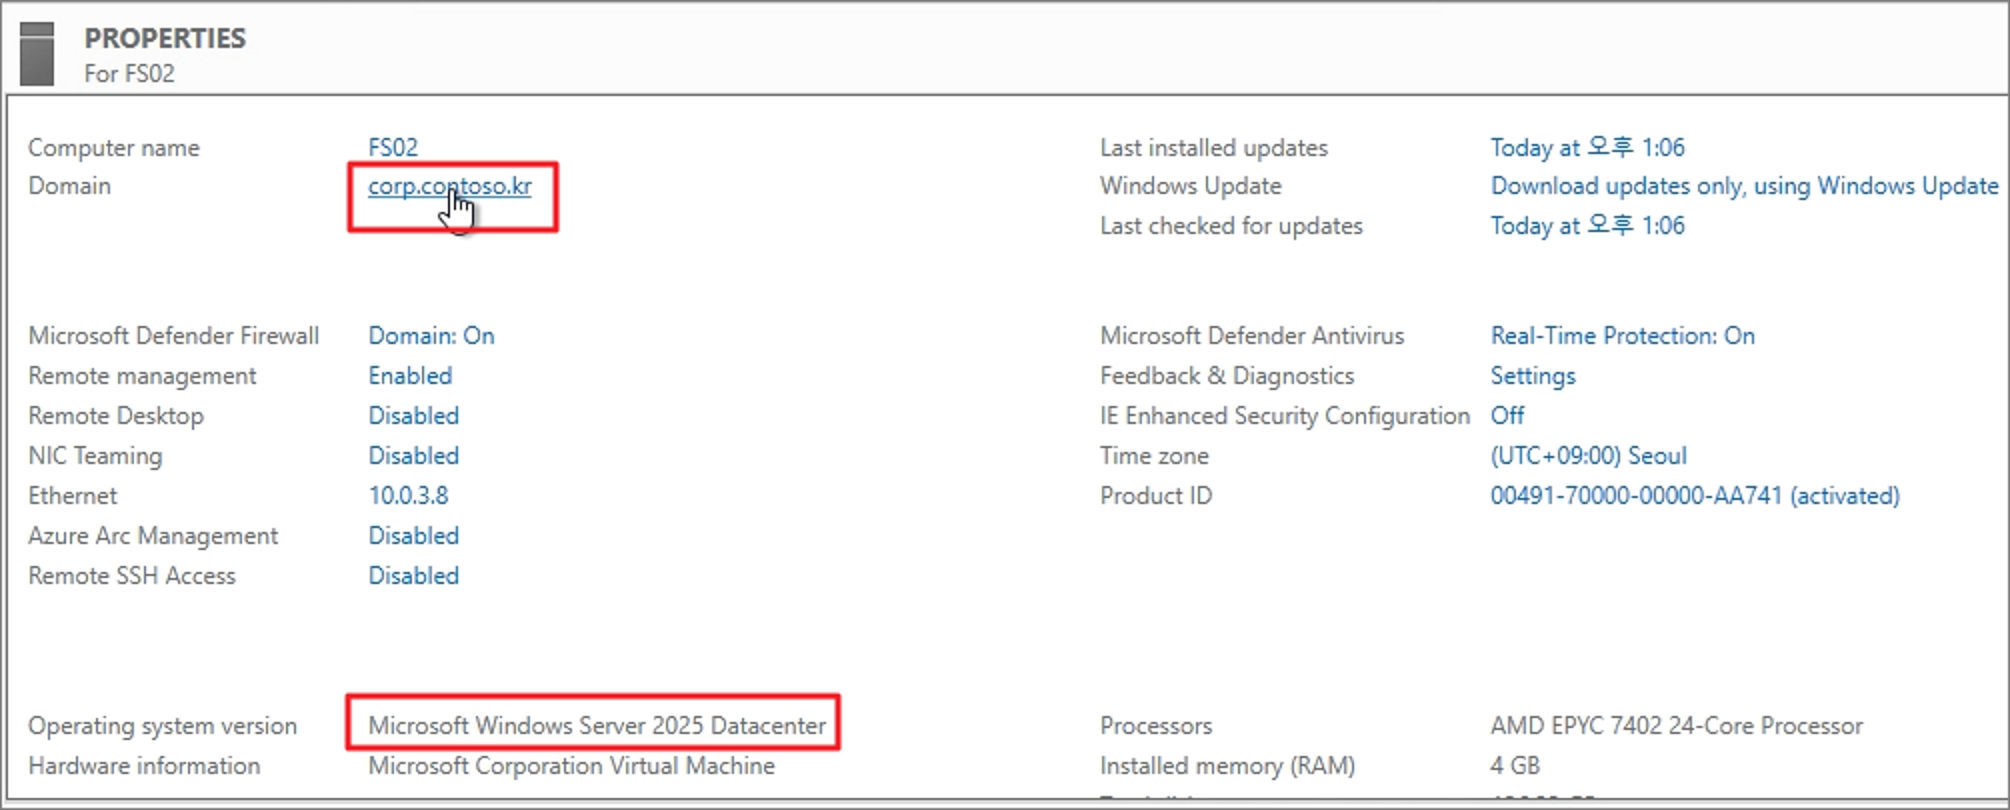
First, join the server where you will install ADFS to the Active Directory.


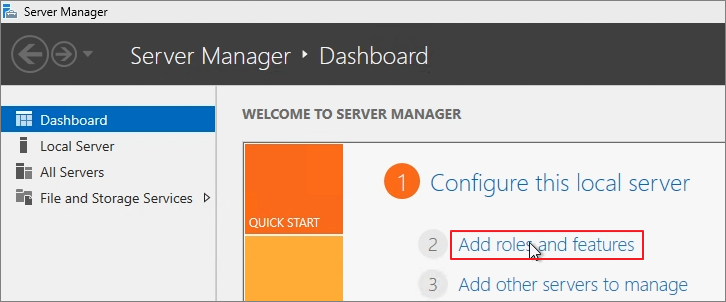
Go to Server Manager -> Add Roles and Features.
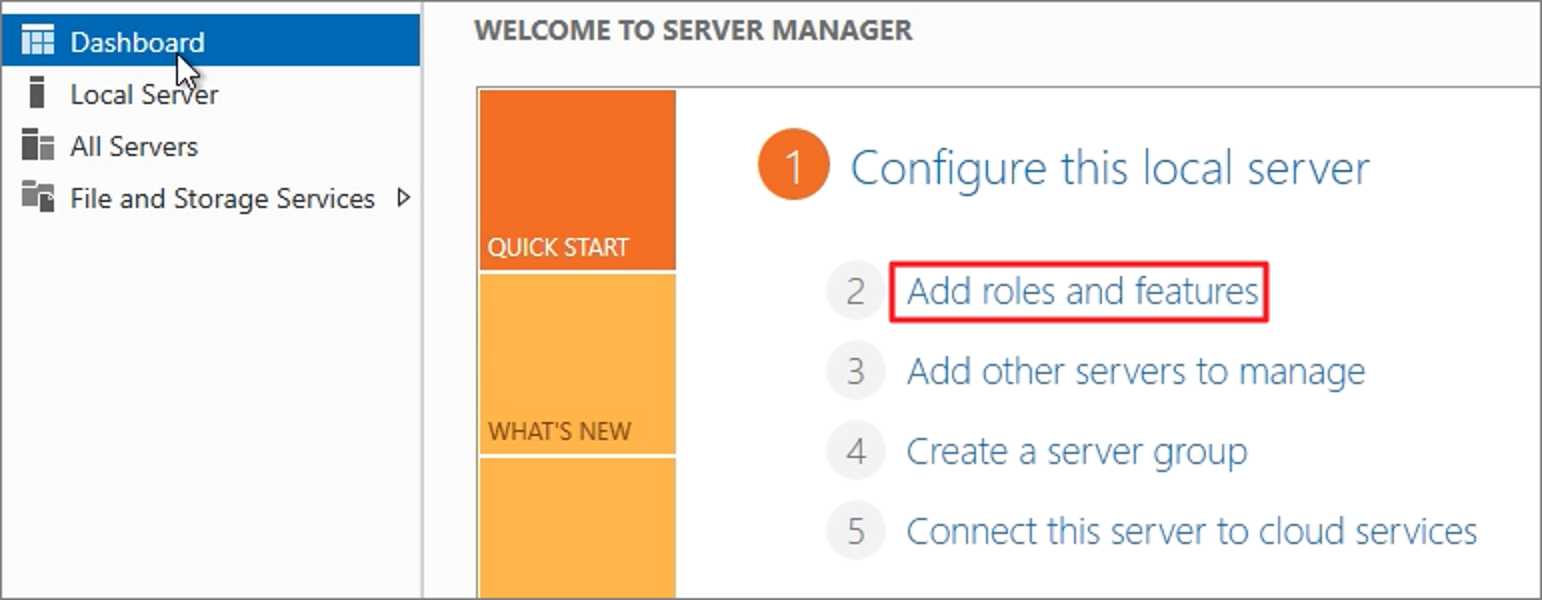


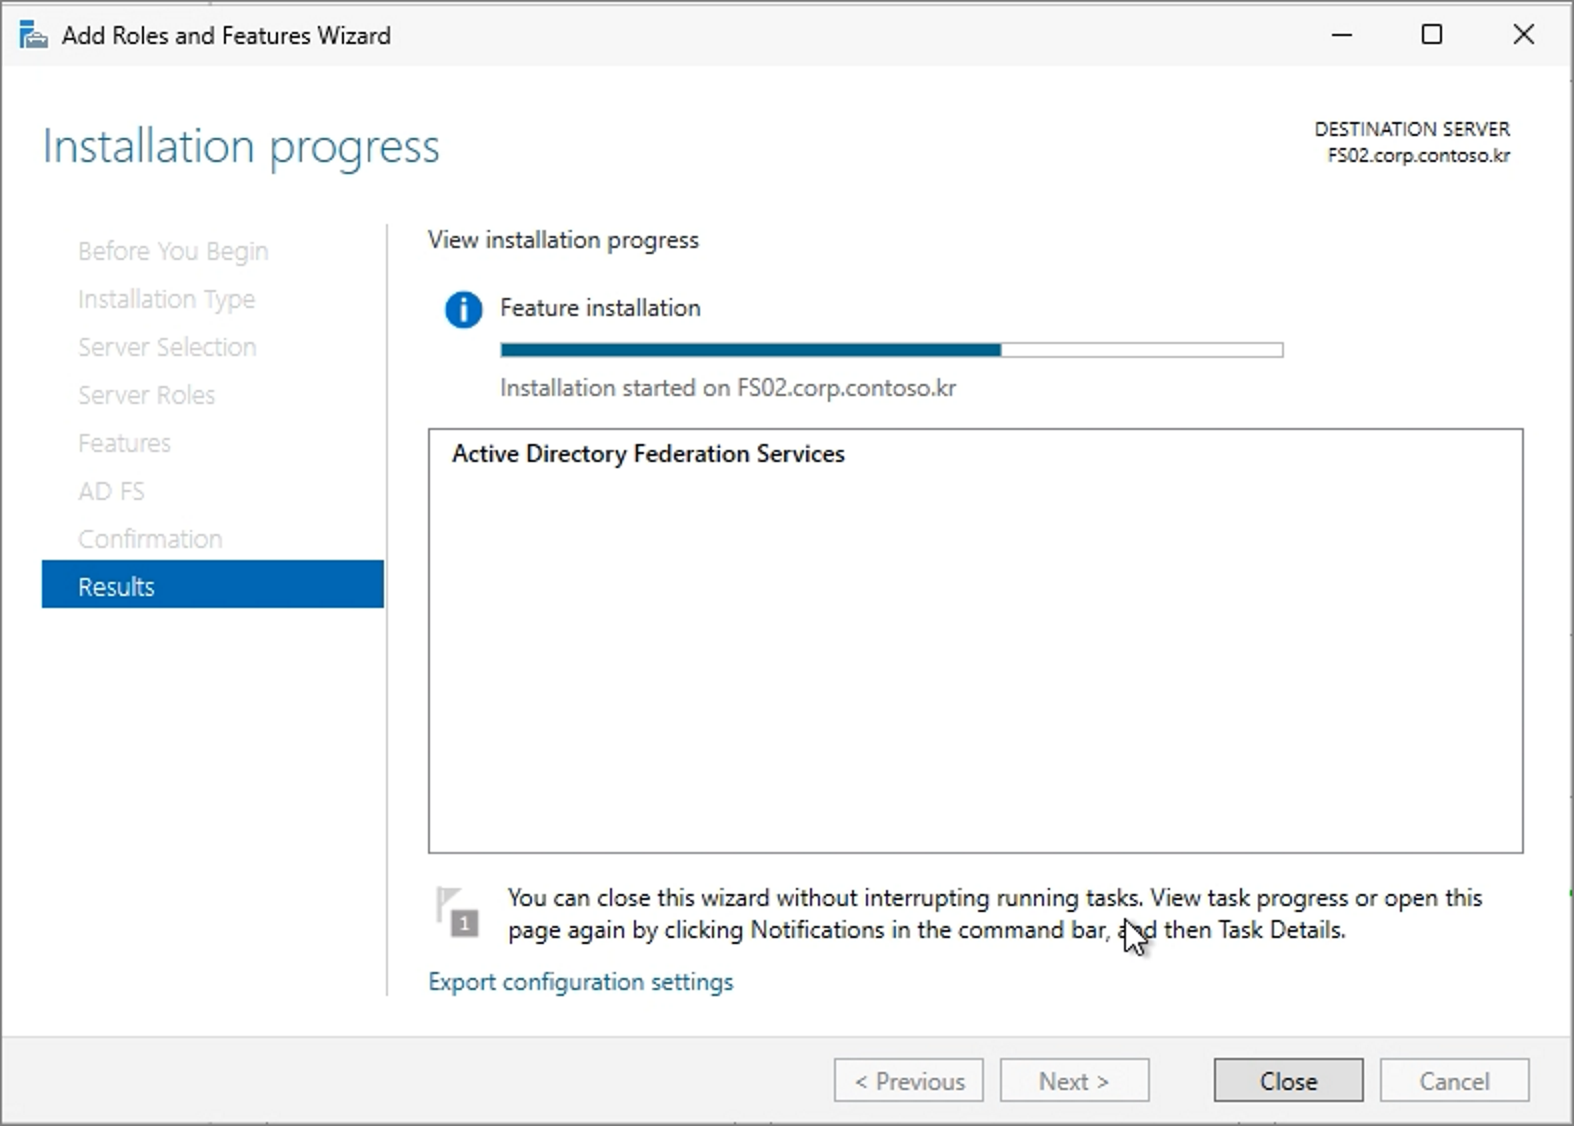
Proceed with installing the Active Directory Federation Services role.


Click Install.


Next, select Configure the federation service on this server.


Choose Add a federation server to a federation server farm.


Click Change and enter the credentials of a Domain Admin account.
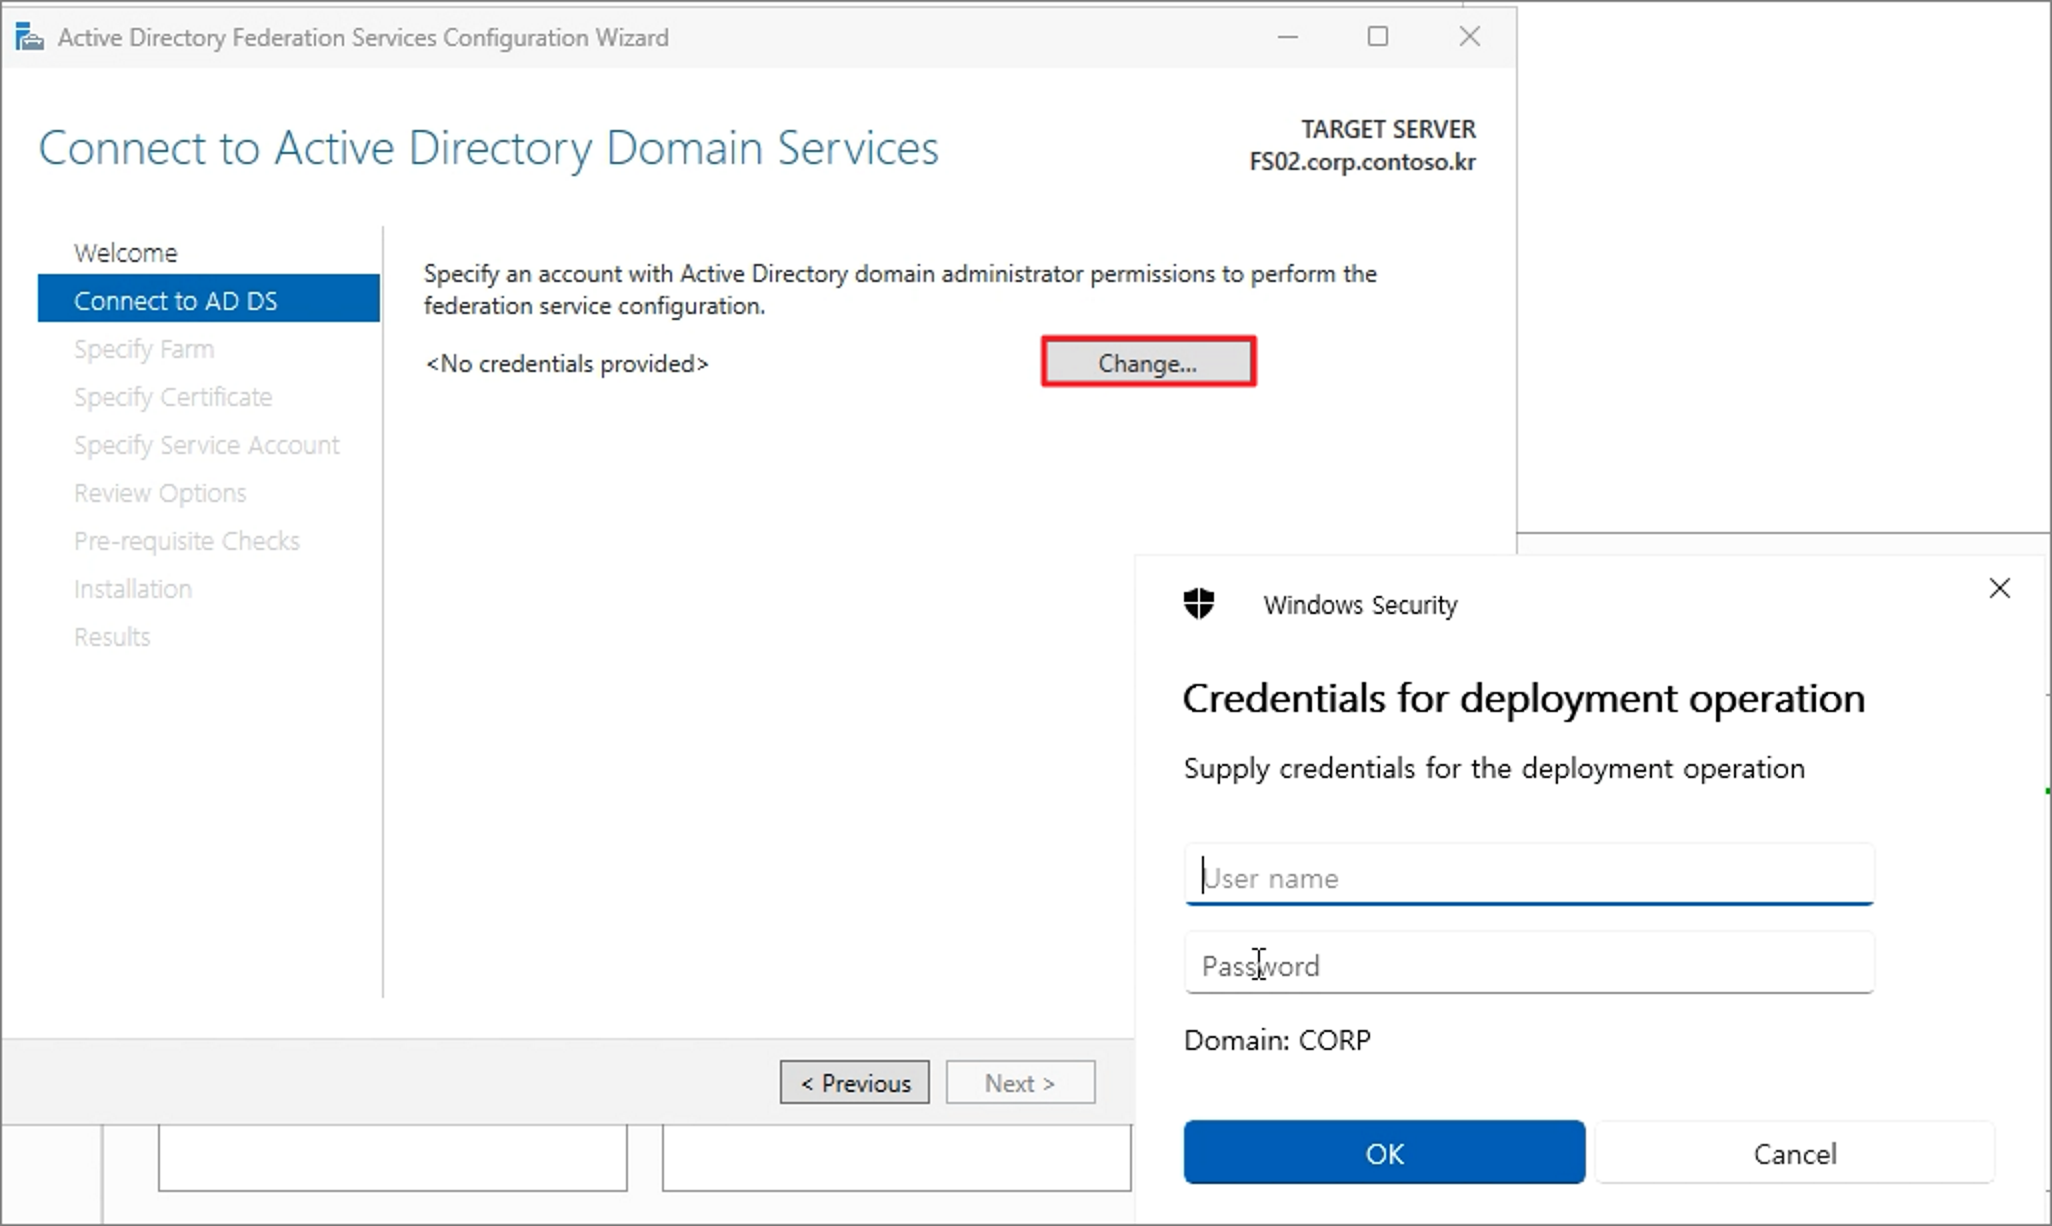


Enter the information of the existing ADFS server.


Specify the certificate (ensure the certificate installation has been completed beforehand).
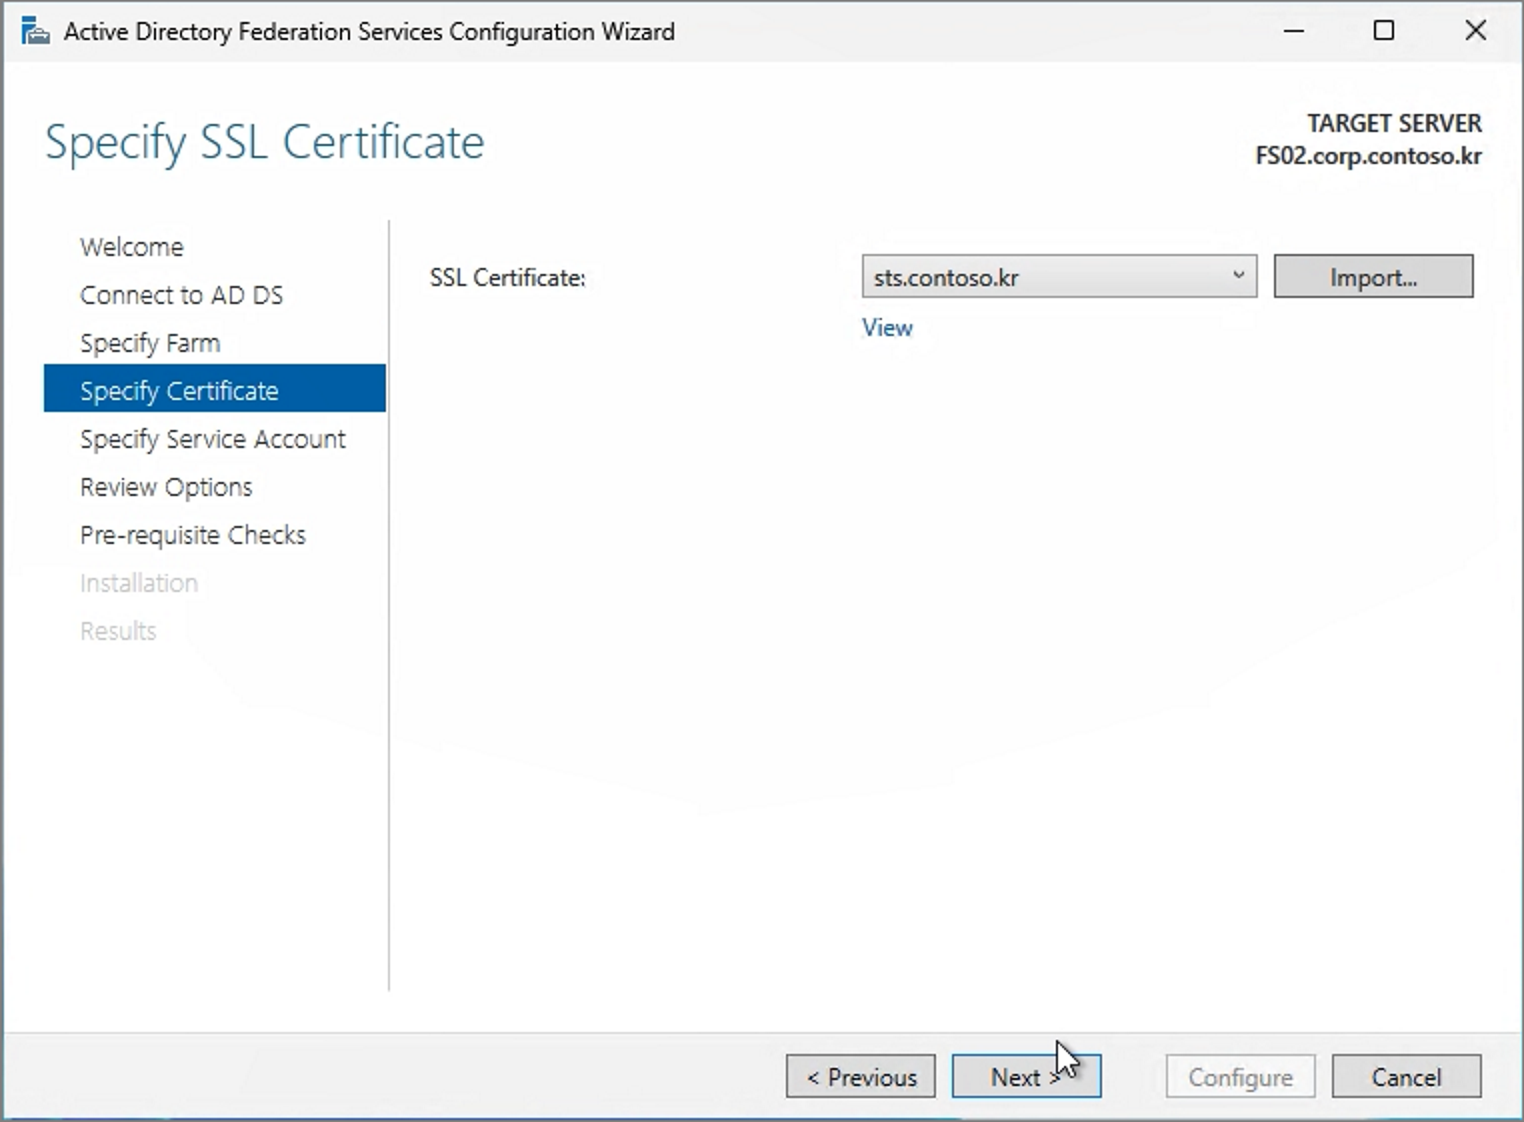


Provide the ADFS service account details.


Proceed with the installation process.
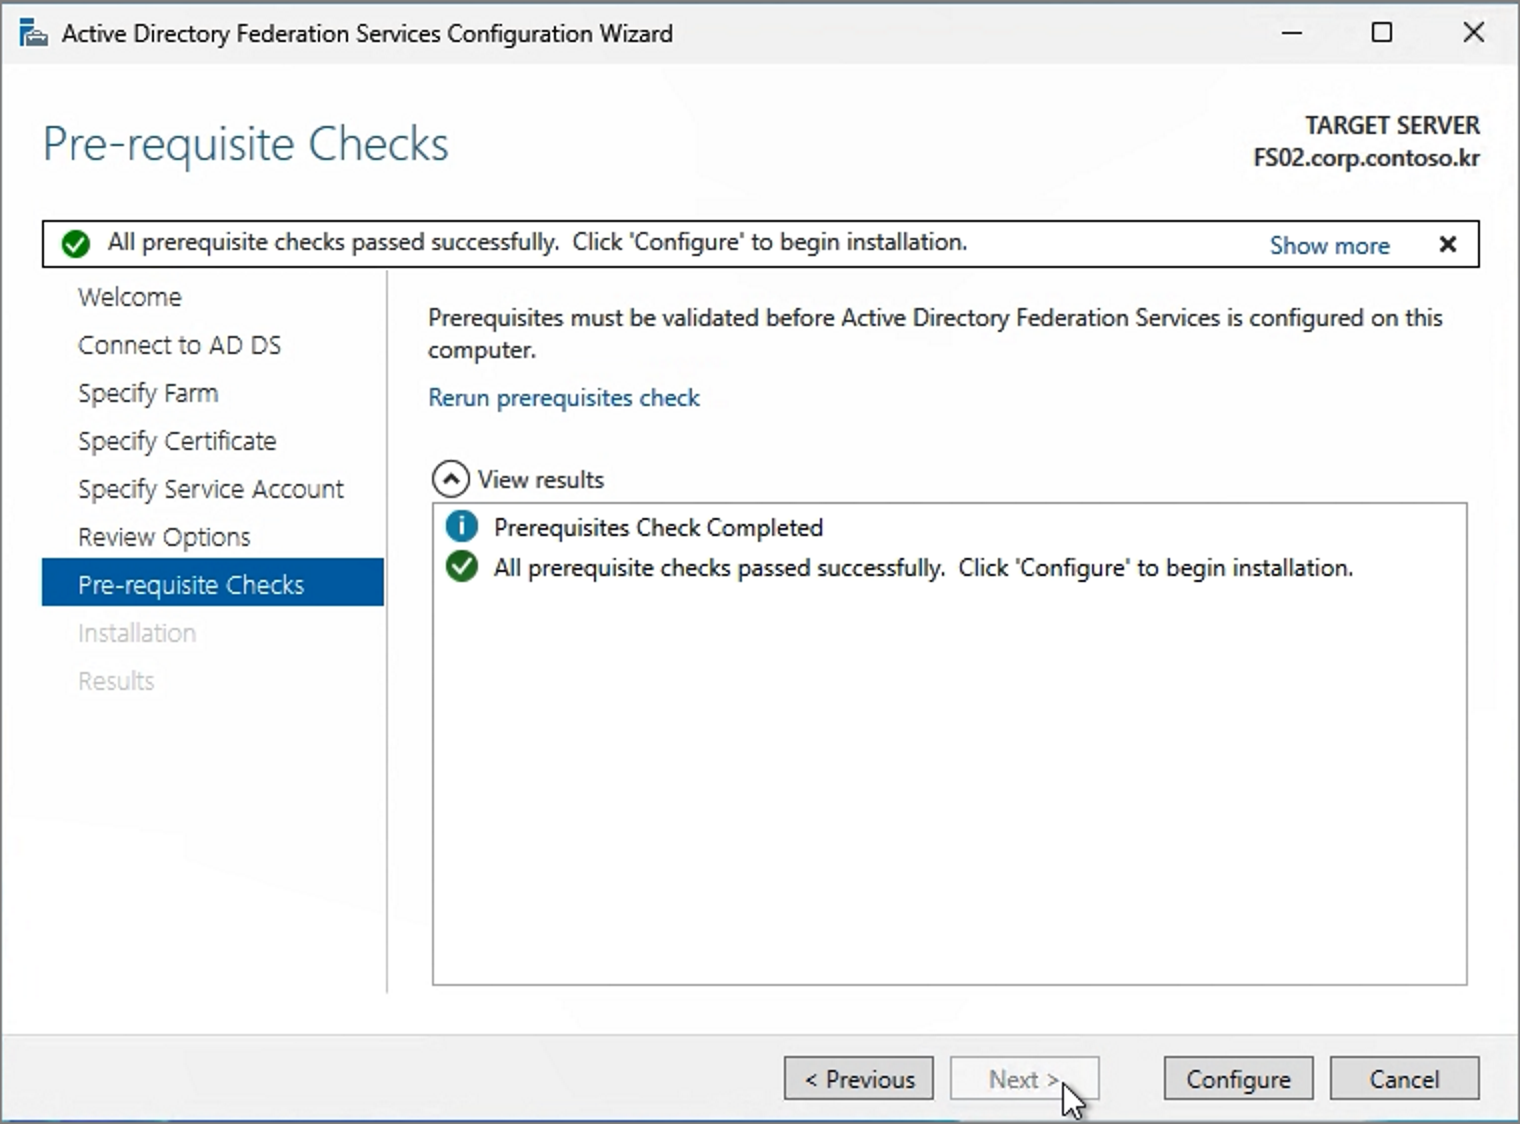


Close


Once the installation is complete, launch AD FS Management.


You will see that the current server is set as Secondary. A switch between Primary and Secondary needs to be performed.


On the newly installed 2025 server, run the following command to switch it to Primary:

Set-AdfsSyncProperties -Role PrimaryComputer


To change the existing ADFS 2022 server to Secondary, run this command on the 2022 server:

Set-AdfsSyncProperties -Role SecondaryComputer -PrimaryComputerName <2025서버>


When you open the management console on ADFS 2022, you will see it is now set as Secondary.
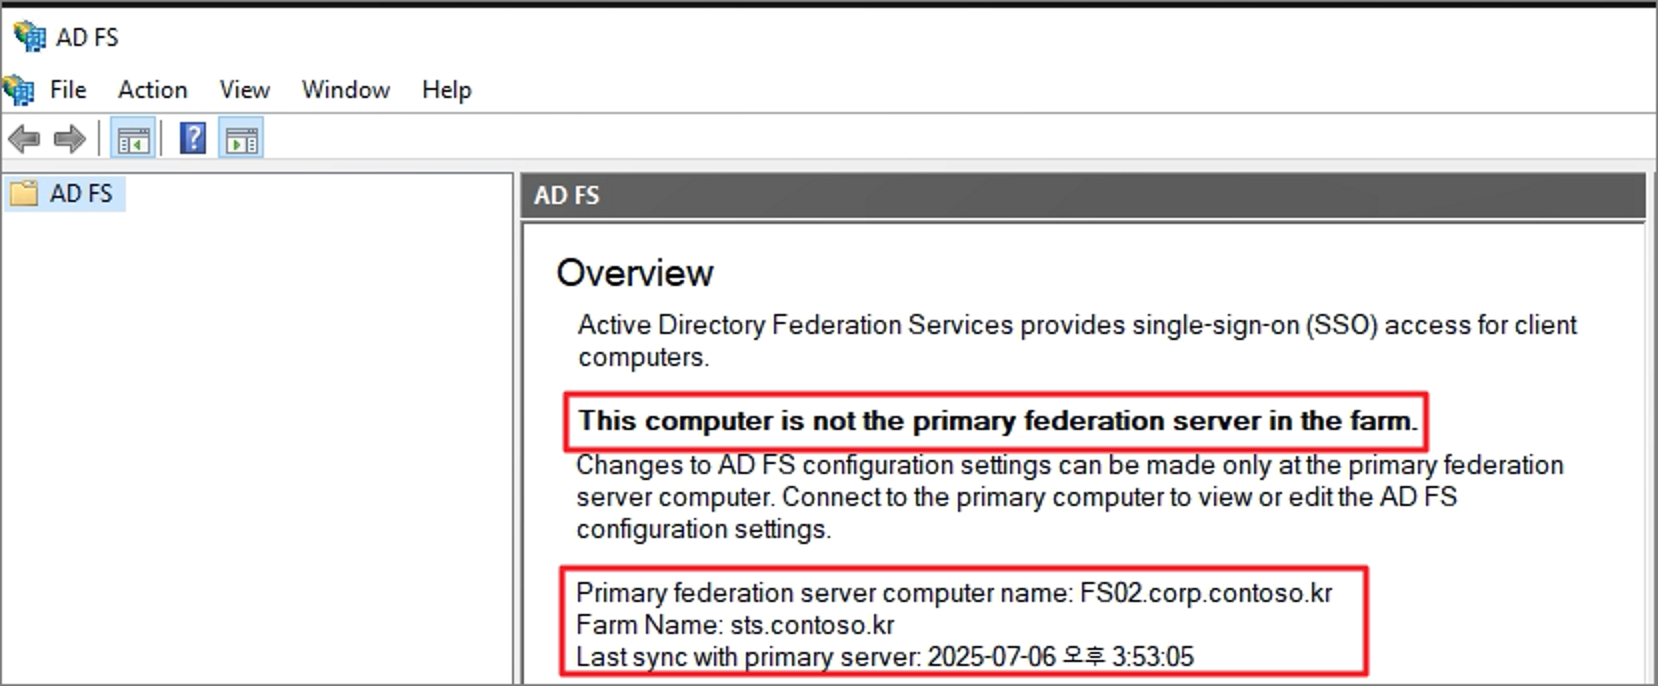


On ADFS 2025, confirm that it has switched to Primary.


Finally, update the internal DNS to point the ADFS address to the new server’s IP.


Step 2. Remove the Existing ADFS 2022


From the Roles installation menu, start the Remove Roles and Features Wizard.


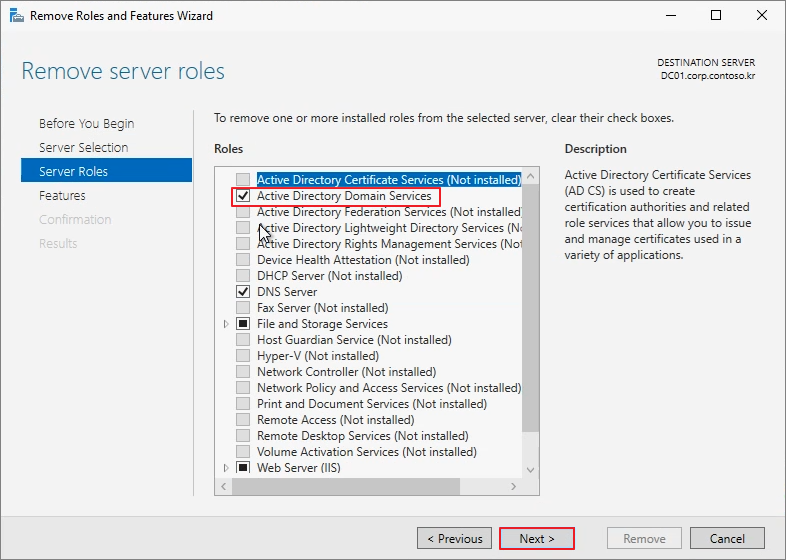
Uncheck the Active Directory Federation Services role and proceed with the removal.


Close


Once the removal is complete, change the server’s membership from the domain to a Workgroup.


Step 3. Install WAP2025


Open the hosts file on the existing WAP2022 server with Notepad, copy its contents, and save it to the WAP2025 server.
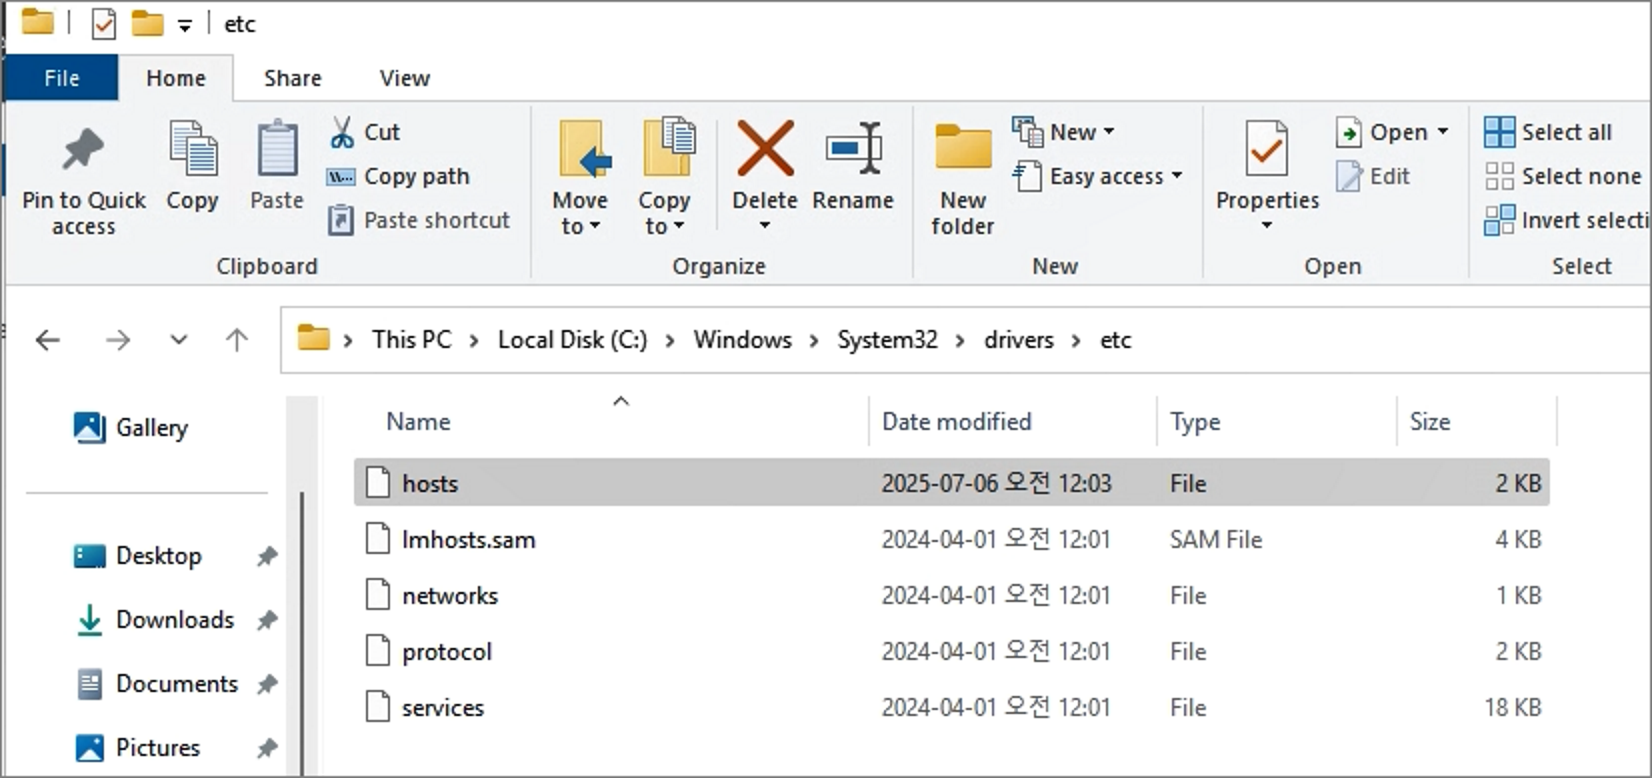
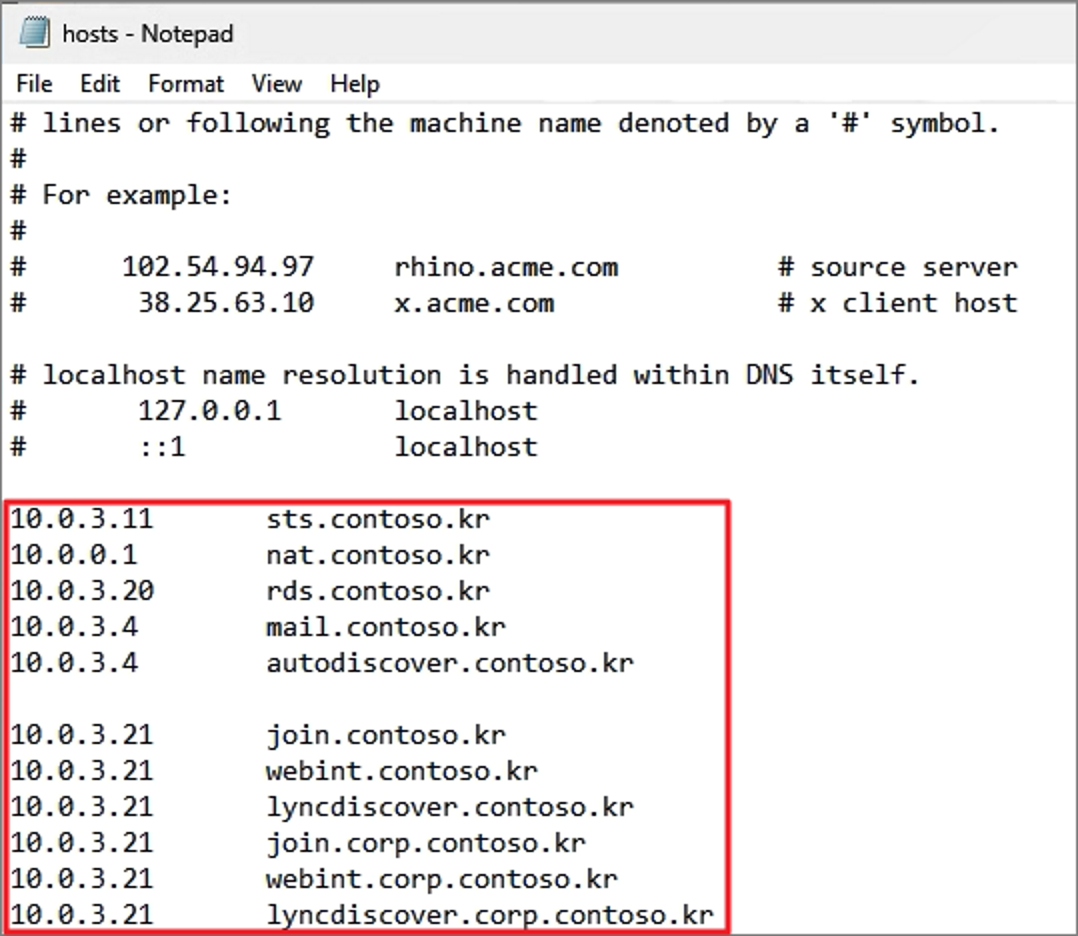


Note that while published configurations are migrated, certificates are not included, so make sure to back up and import each certificate separately.


On WAP2025, proceed to install the Remote Access Role.
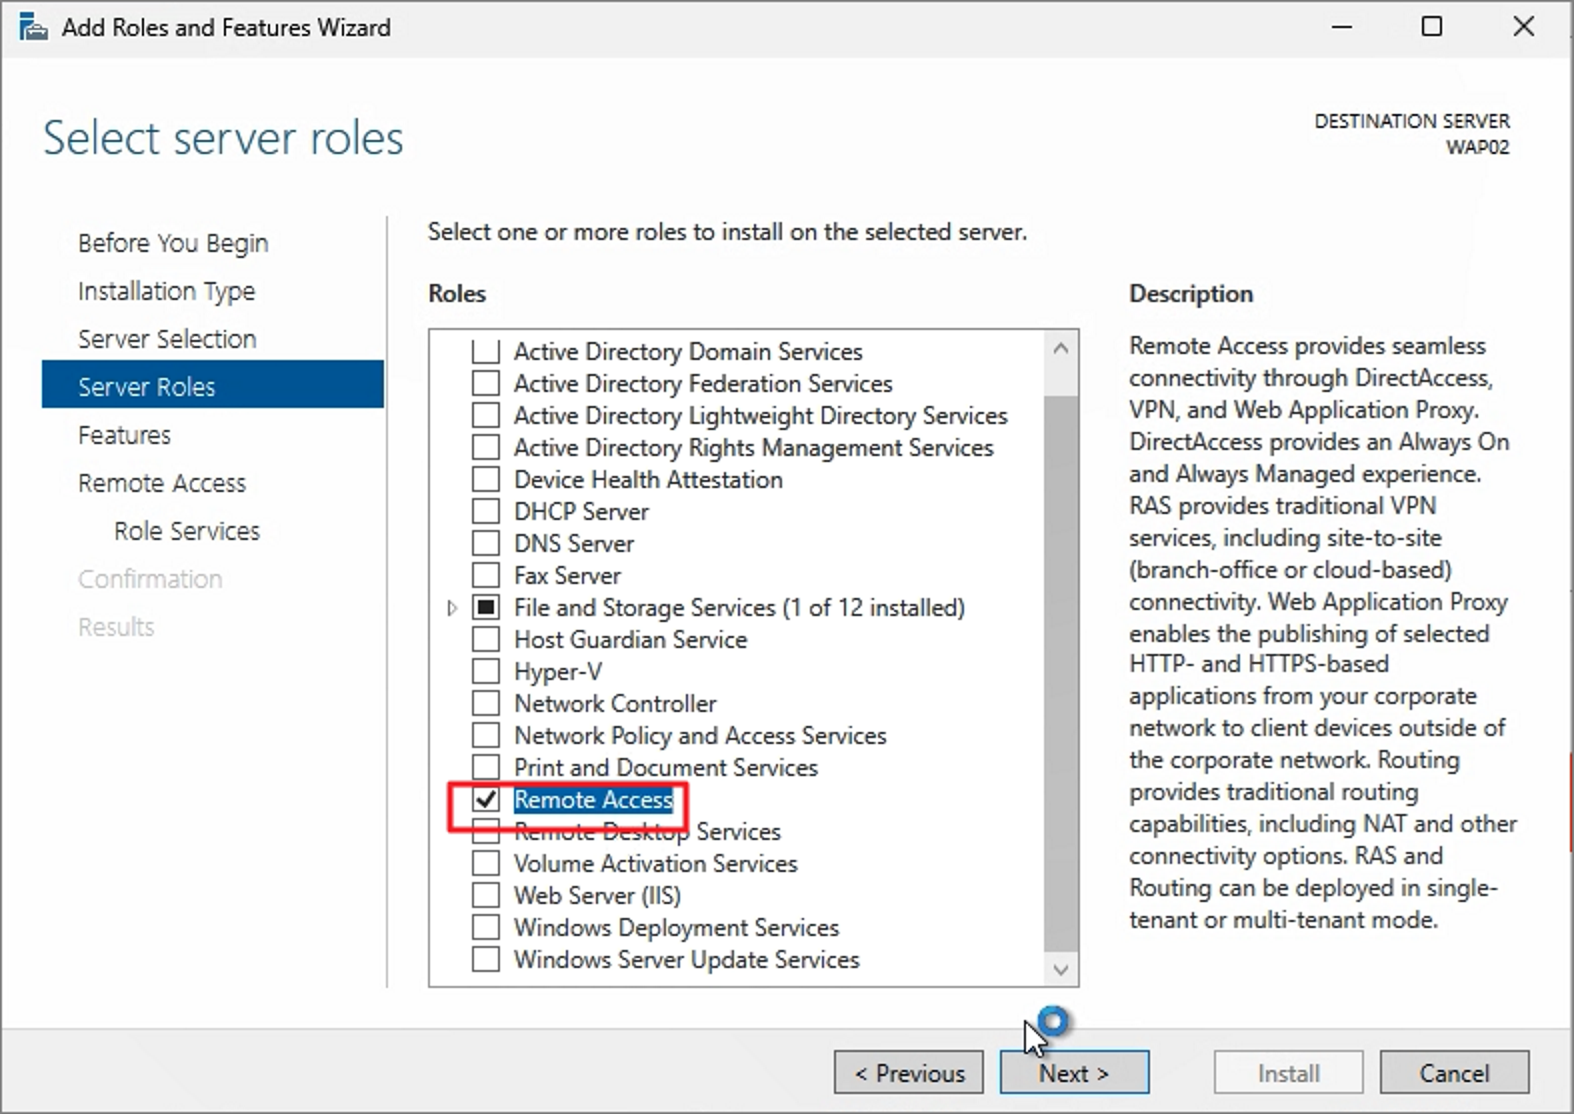


Check Web Application Proxy and continue with the installation.


Open the Web Application Proxy Wizard


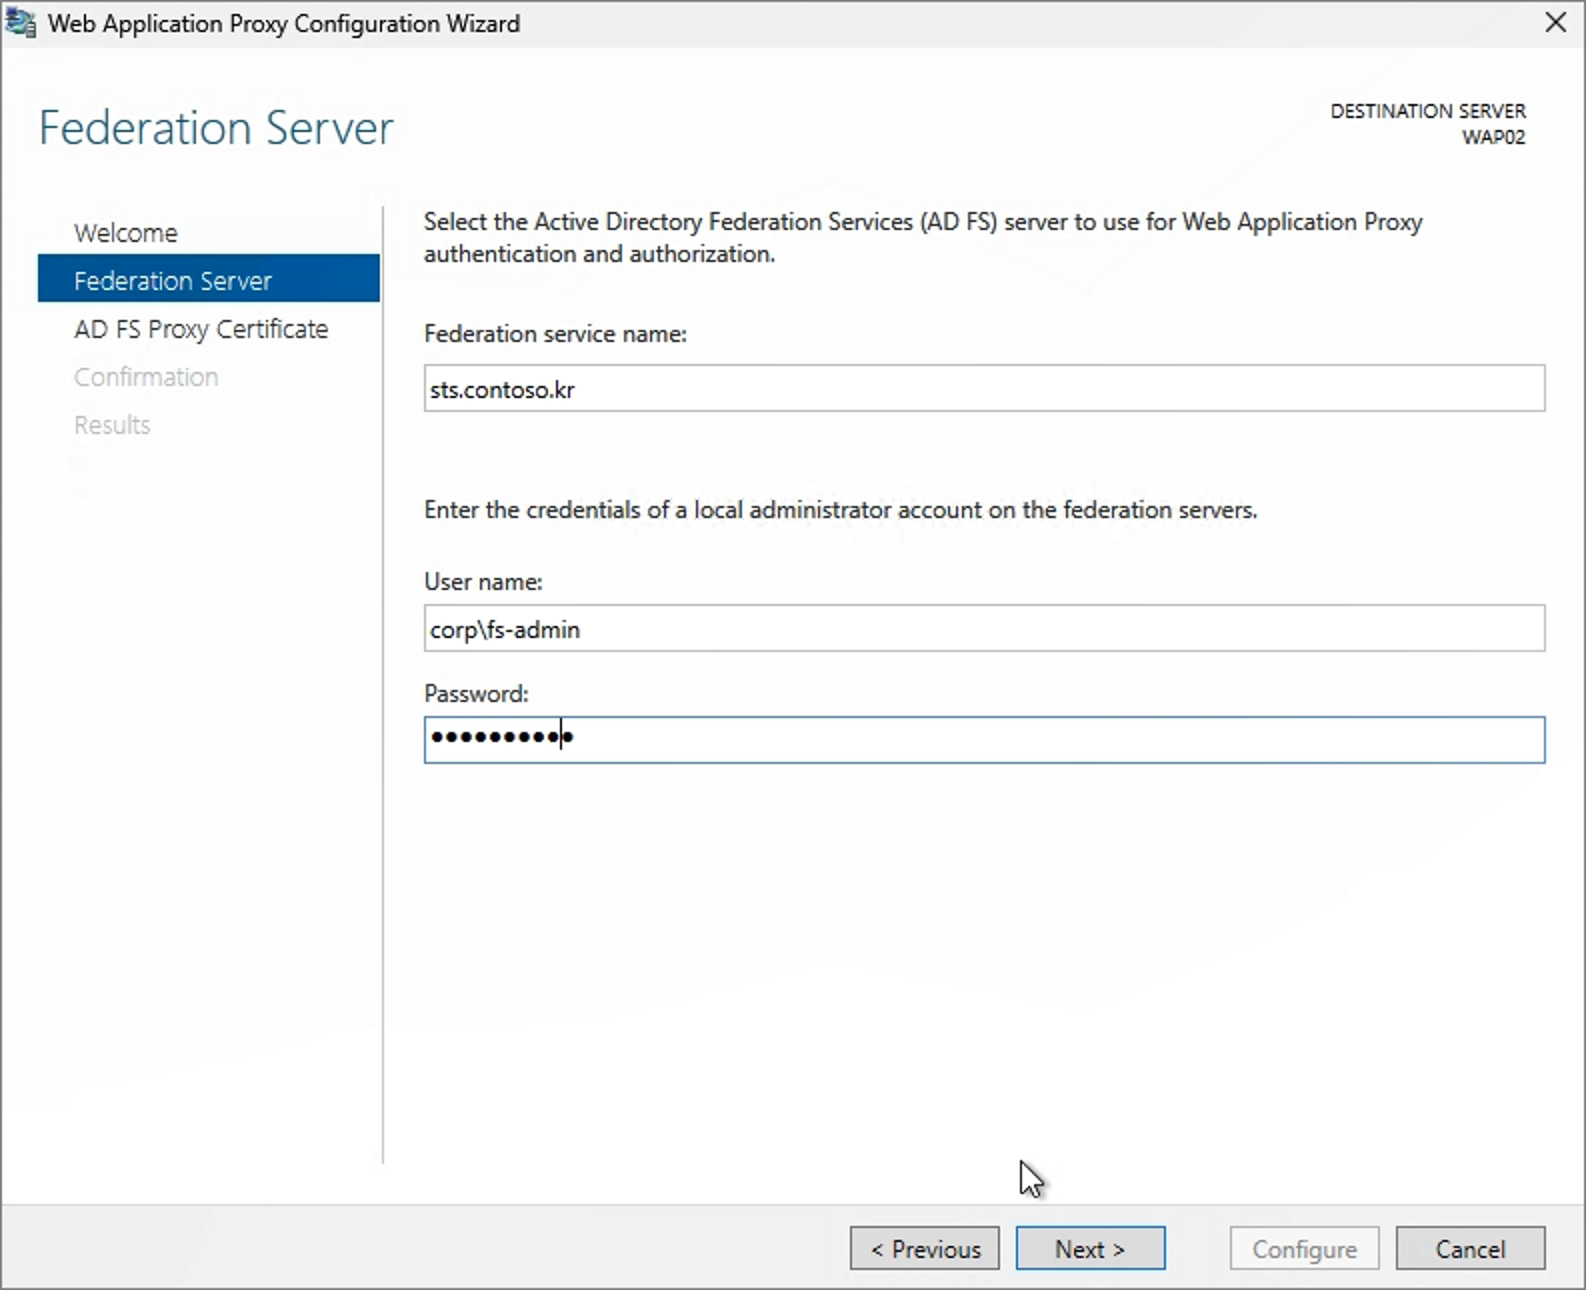
Enter the ADFS service URL and credentials.


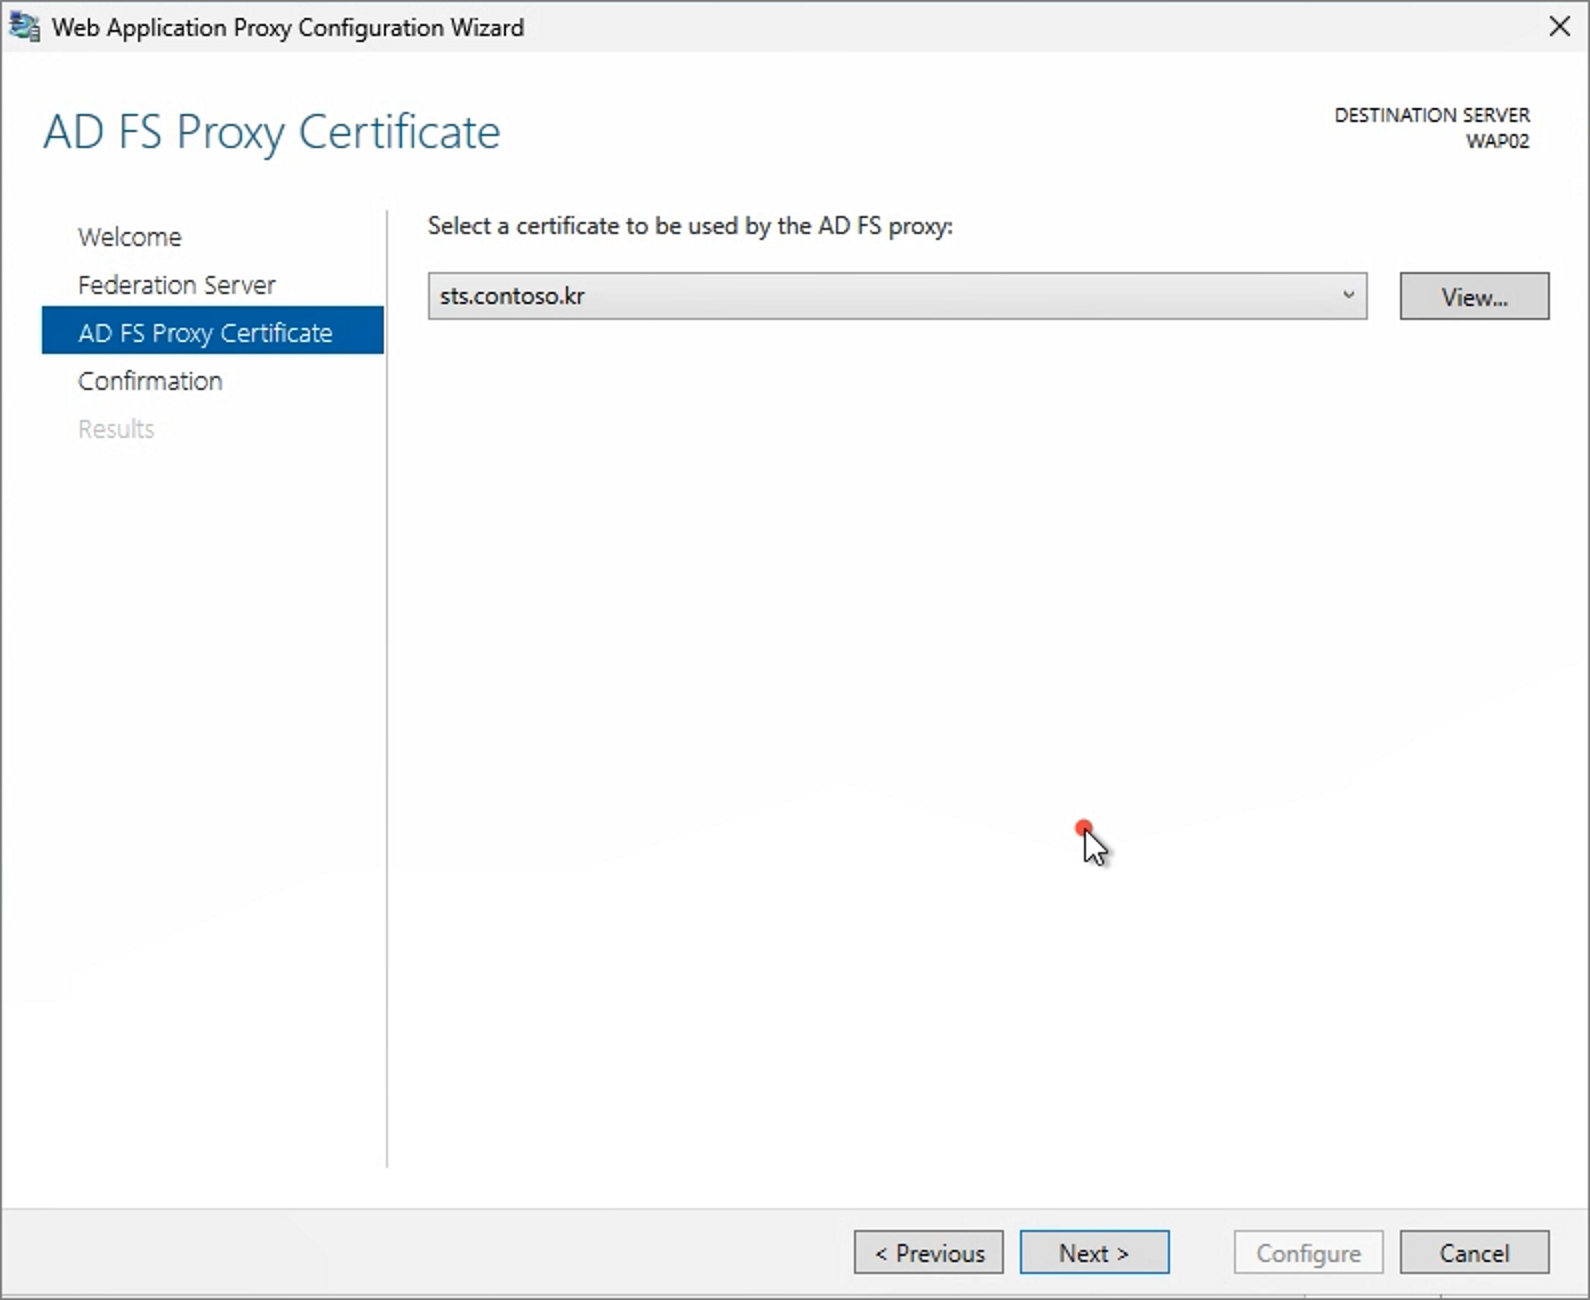
Select the pre-installed certificate.


Configure


Close


The interface will display as if a cluster is configured.


You can verify the current connected servers with the command:


Similar to 2019 and 2022 versions, the Configuration Version remains as Windows Server 2016.


Step 4. Remove WAP2022


On WAP2022, start the Remove Roles and Features Wizard.


Uncheck the Remote Access – Web Application Proxy role and proceed with removal.


Update the currently connected server information using the following command on WAP2025:

Set-WebApplicationProxyConfiguration -ConnectedServersName <WAP2025>


Confirm that the connection information has been updated correctly.


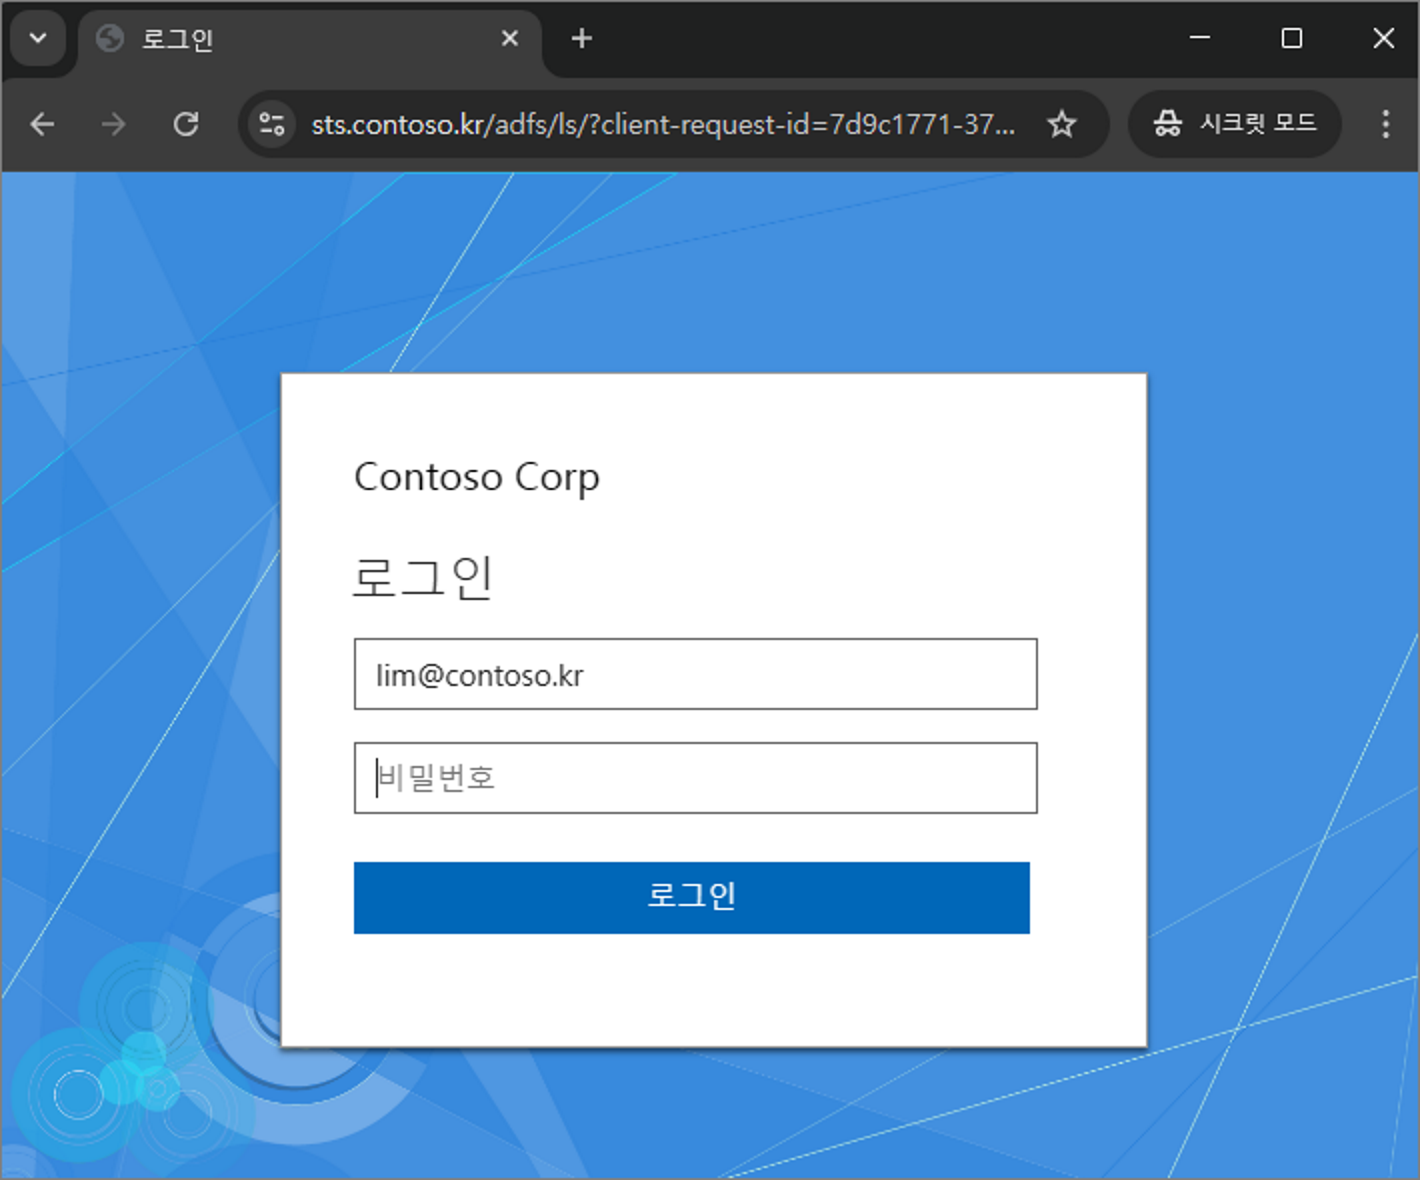
Successful login was also confirmed via Office.com, indicating that no additional action is required in Entra ID Connect and no major issues are expected.
반응형
반응형

Youtube: https://youtu.be/VEyKbmwxoaU


Exchange Server Subscription Edition (SE) Has Finally Been Released

Exchange Server Subscription Edition (SE) is now available | Microsoft Community Hub

Copilot AI Summary

This page announces the general availability of Exchange Server Subscription Edition (SE). The main points are as follows:

  • Background of the Release: Exchange SE continues Microsoft’s tradition of providing enterprise-grade email services across cloud, on-premises, and hybrid environments.
  • Service and Licensing Changes: Exchange SE follows the Modern Lifecycle Policy, meaning there is no predefined end-of-support date.
  • Upgrade Details: In-place upgrades from Exchange Server 2019 CU14 or CU15 to Exchange SE are recommended.
  • Differences: While Exchange SE RTM is functionally the same as Exchange 2019 CU15, the name and version number have been updated.
  • Future Plans: After October 2025, Exchange SE will be the only supported on-premises version. New features and installation requirements will be added in the future.

The page also mentions the release of Skype for Business Server Subscription Edition.


It’s really convenient to have Copilot summarize the page like this.

AI makes it easy to understand and concisely presents the key points.

As of now, Subscription Edition is more of a version rename than a functional update.

So if you're upgrading from 2019, there's no need to rebuild your environment — an in-place upgrade is enough.

That’s why it feels more like an update rather than a full upgrade.


You can download the installation file from the link below:

Exchange Server build numbers and release dates | Microsoft Learn

Over time, the term RTM may be phased out.


Let’s walk through what happens when you upgrade from CU15, for comparison.


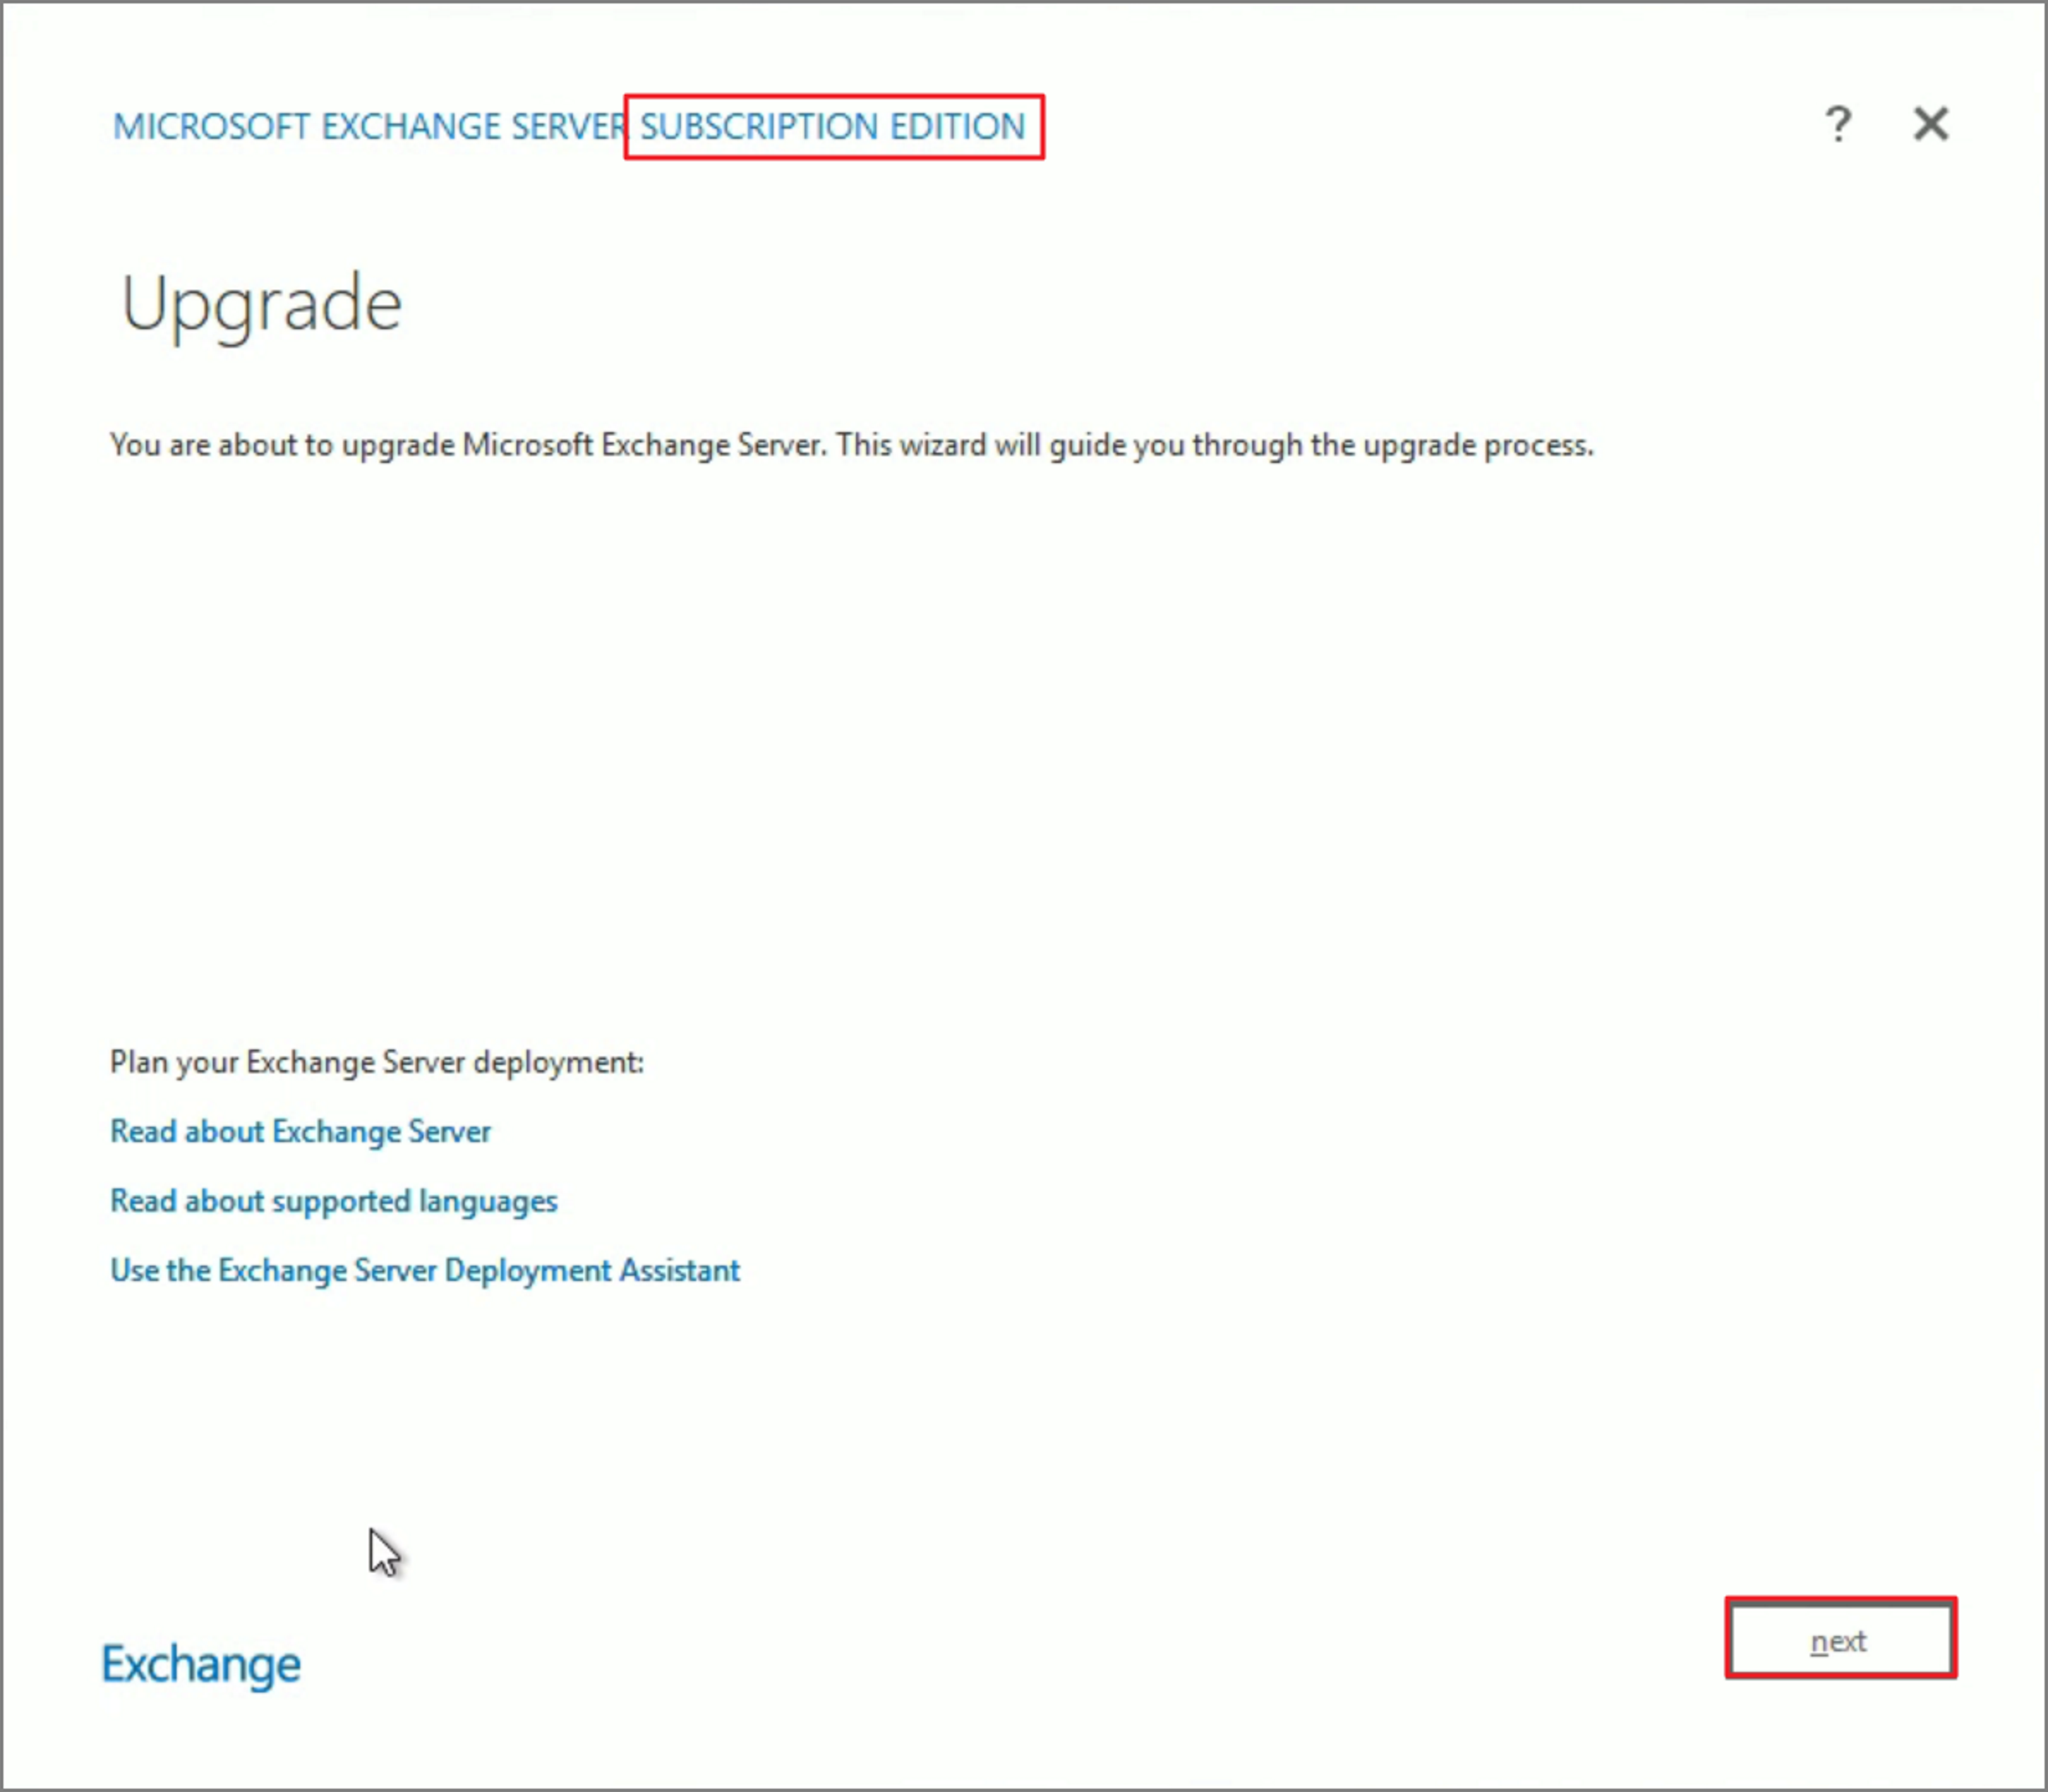
Mount the ISO file and run the Setup file.

''

You’ll notice the label SUBSCRIPTION EDITION at the top of the installer screen.


The installation proceeds the same way as in previous versions.


After the installation completes, you’ll see the version number has been updated.


DAG is also maintained without any issues.

반응형
반응형

Windows Server 2025 has been released.

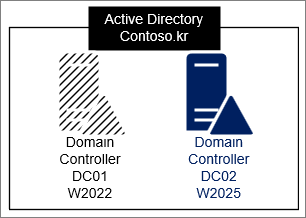
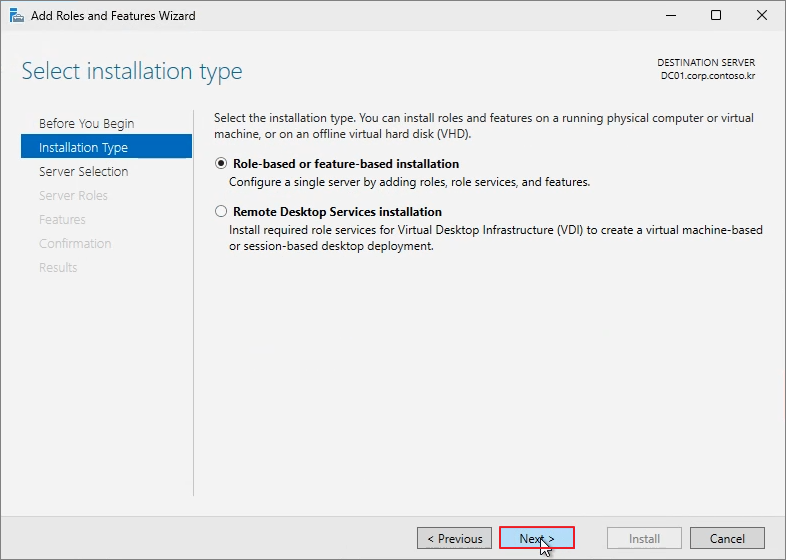
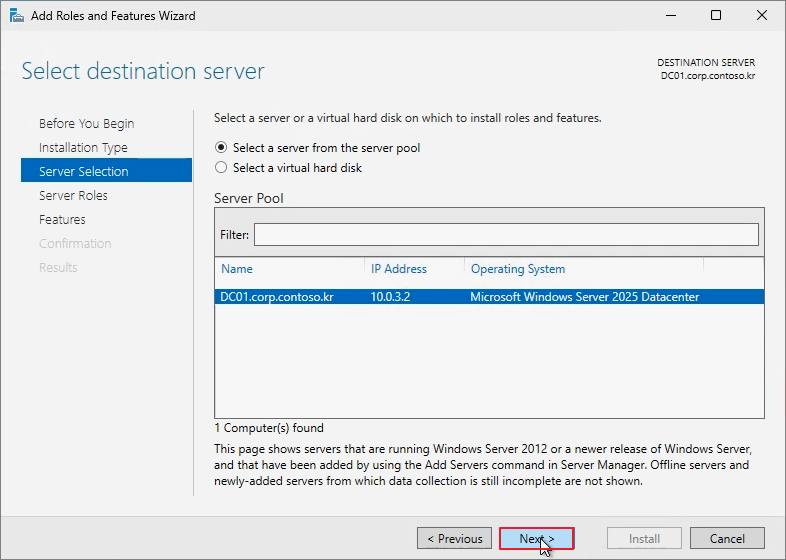
To take advantage of the new OS, I'll upgrade the AD Domain Controllers DC01 and DC02 to Windows Server 2025.

In a real-world environment, many factors would need to be considered, but since this is a test environment, I will only cover the basic upgrade process.


The Windows Server 2025 installation image created earlier using Sysprep was utilized.
Test Environment


https://youtu.be/YcF0ztnJJ8A


The process was carried out in the following steps:

1. DC02: Windows Server 2022 Demote

2. DC02: Windows Server 2025 Promote

3. Change the Master role to DC02.

4. DC01: Windows Server 2022 Demote

5. DC01: Windows Server 2025 Promote

6. Change the Master role back to DC01.


Step 1. Remove DC02


Add roles and features


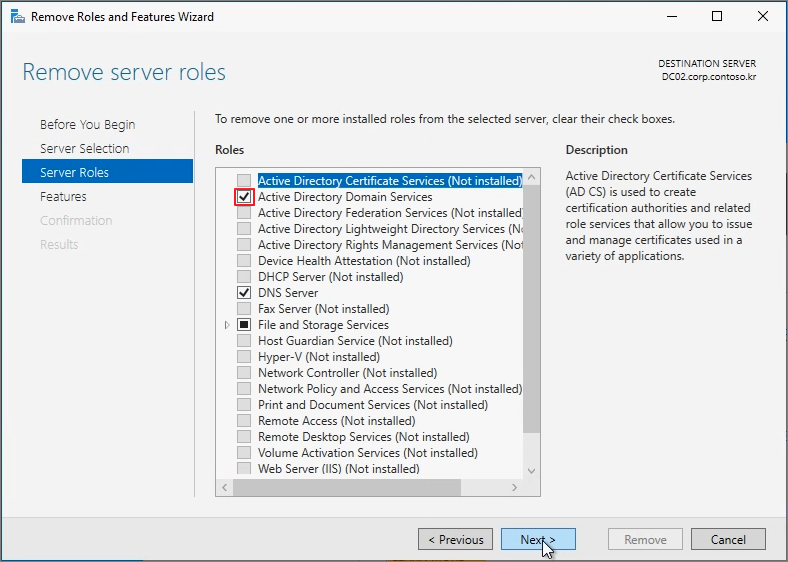
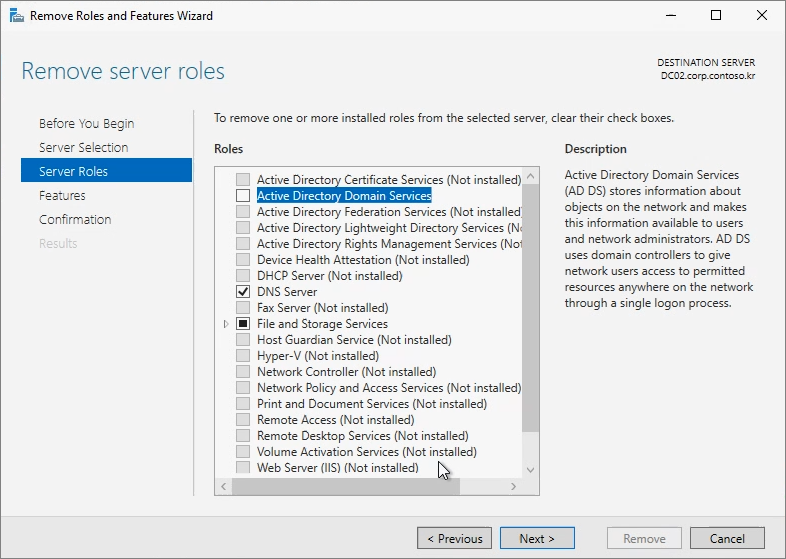
Start the Remove Roles and Features Wizard


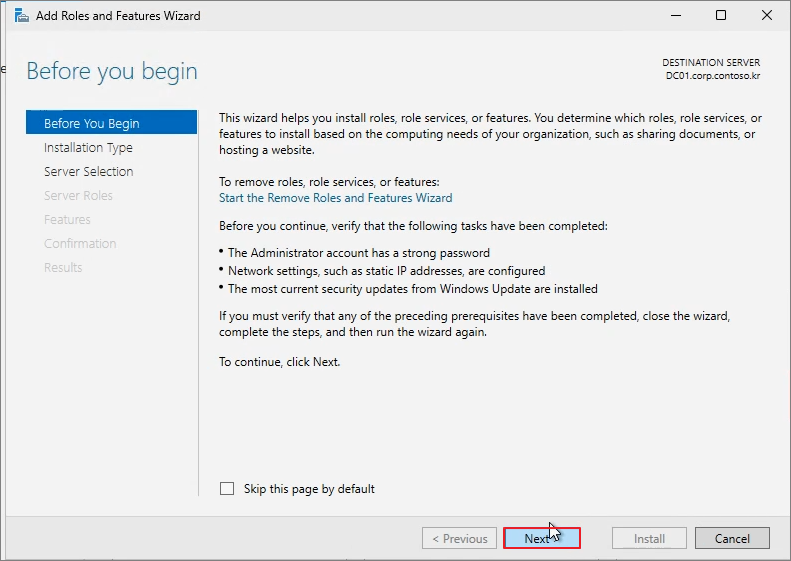
Next


Next


Active Directory Domain Services


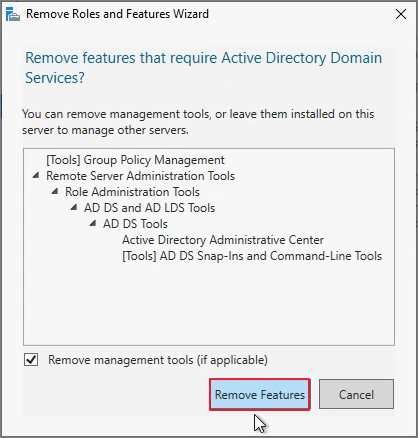
Remove Features


Demote this domain controller


Next


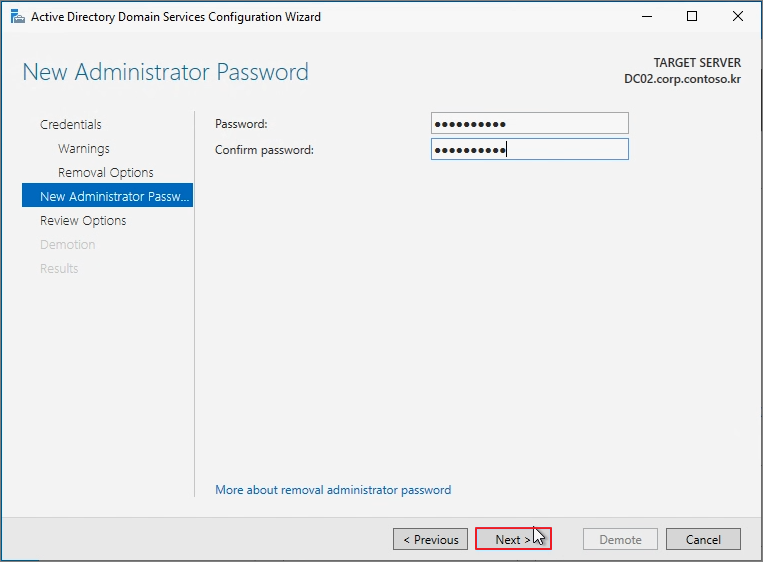
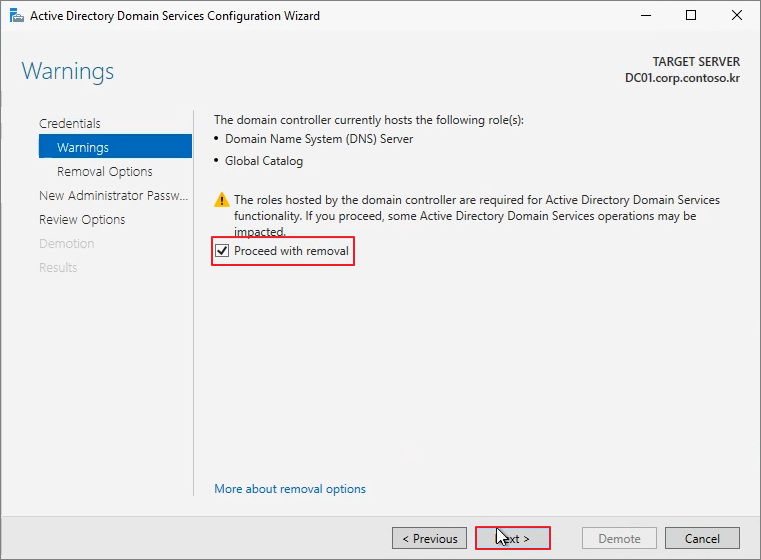
Proceed with removal -> Next


Next


Next


Demote


Close


Close


Verify that the Domain Controller (DC) has been successfully removed.


After rebooting, proceed with removing the roles again.


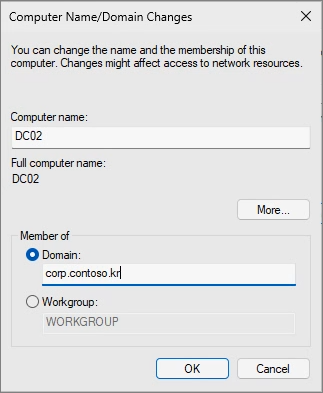
Switch the machine to WORKGROUP mode.


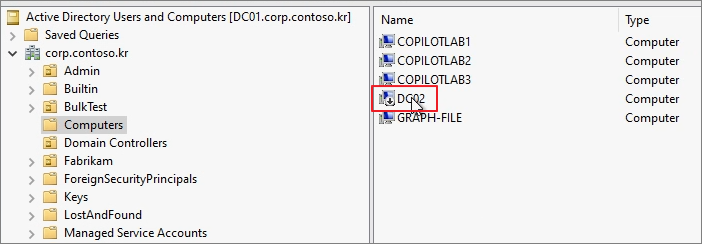
Remove DC02 from Active Directory Users and Computers (ADUC).


Yes


Step 2. Install the Domain Controller (DC) role on Windows Server 2025.


Proceed with joining the server to the Active Directory (AD).


Server Manager -> Add roles and features


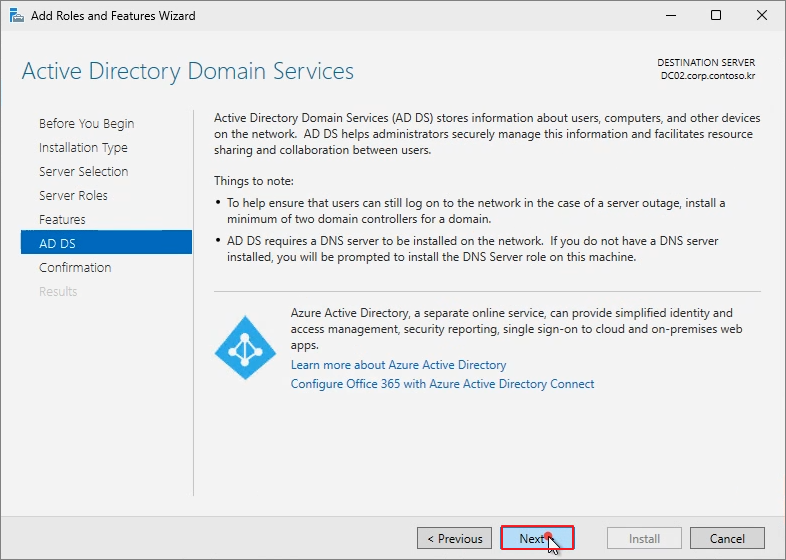
Next


Next


Next


Active Directory Domain Services


Add Features


Next


Next


Next


Install


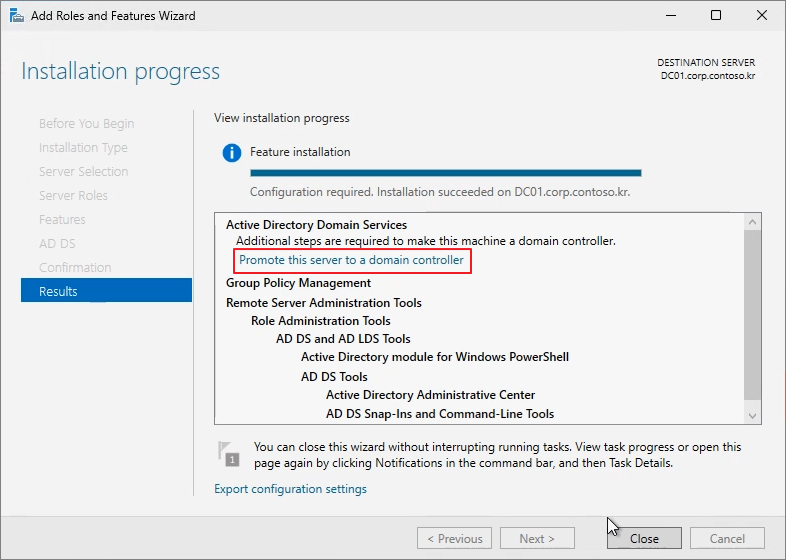
Promote this server to a domain controller


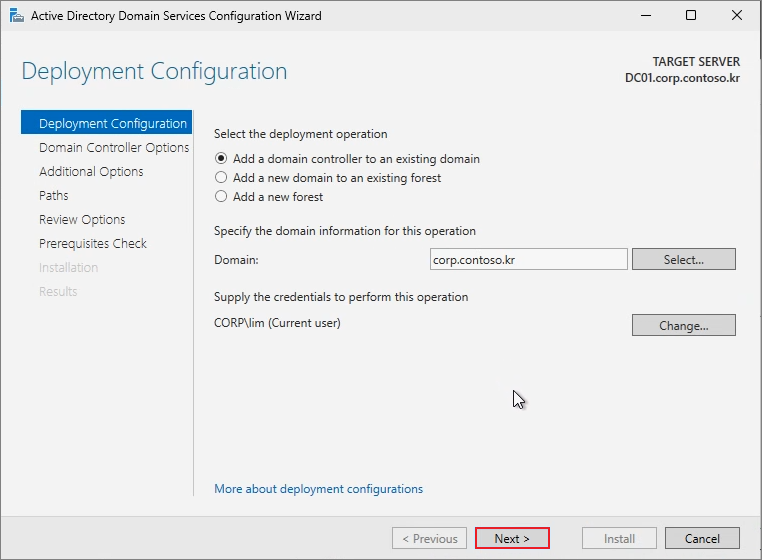
Add a domain controller to an existing domain -> Next


Enter the Password and click Next.


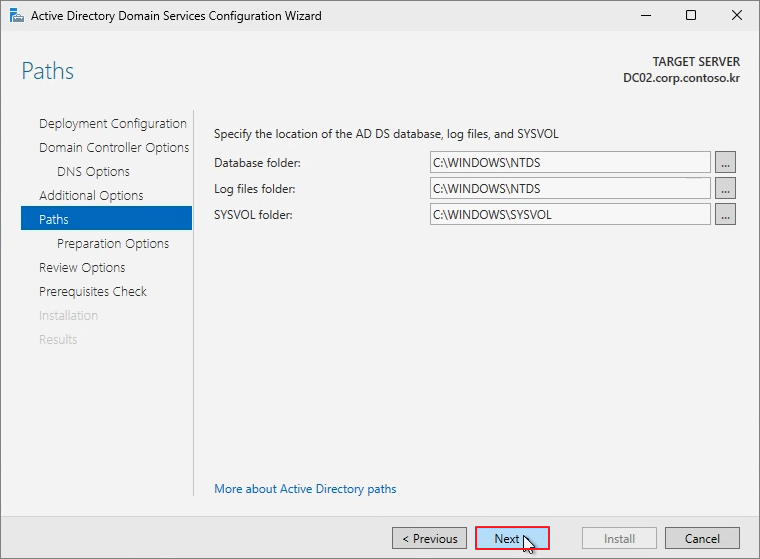
Next


Next


Next


Next


Next


Install


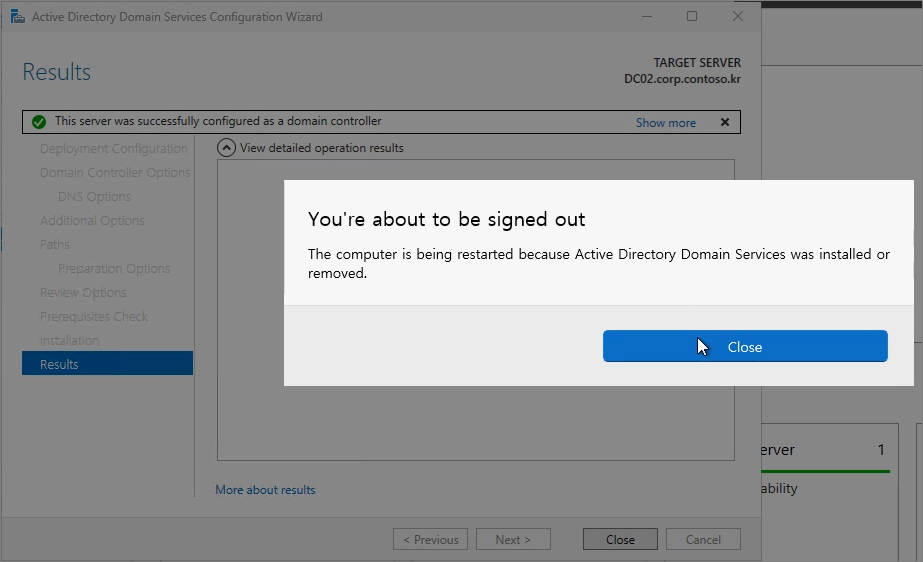
Once completed, the system will reboot.


Enter the following command to change the DC Master role to DC02:

Move-ADDirectoryServerOperationMasterRole -Identity DC02 -OperationMasterRole SchemaMaster, DomainNamingMaster, PDCEmulator, RIDMaster, InfrastructureMaster


Netdom query fsmo


Step 3. Remove DC01


Update the DNS Address to point to DC02.


Server Manager -> Add roles and features


Start the Remove Roles and Features Wizard


Next


Active Directory Domain Services


Remove Features


Demote this domain controller


Next


Proceed with removal -> Next


Next


Enter the Password and click Next.


Demote


Close


After rebooting, navigate back to the Roles and Features removal menu and proceed with the Active Directory Domain Services (AD DS) removal process.


Click Close and proceed with the system reboot.


Switch the machine to Workgroup mode.


Remove DC01 from Active Directory Users and Computers (ADUC).


Step 4.. Install DC01


On the new VM for DC01, configure the IP address and set the DNS server to DC02.


Domain Join


Add Roles and features


Next


Next


Next


Active Directory Domain Services -> Next


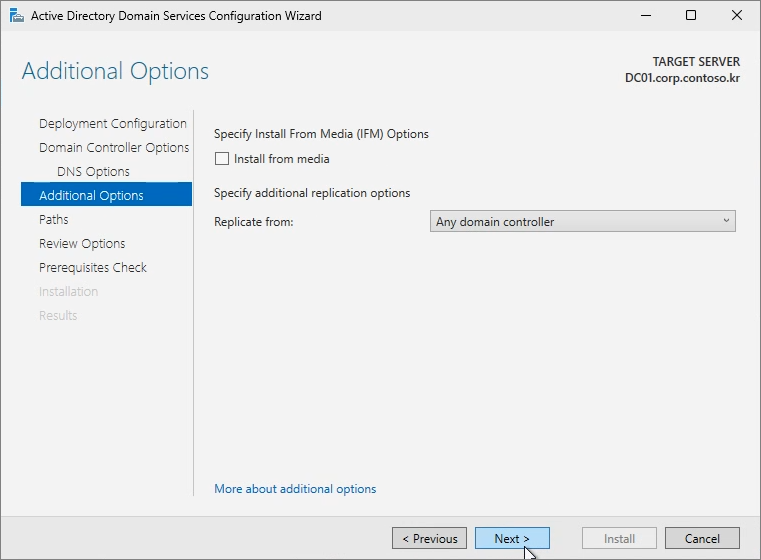
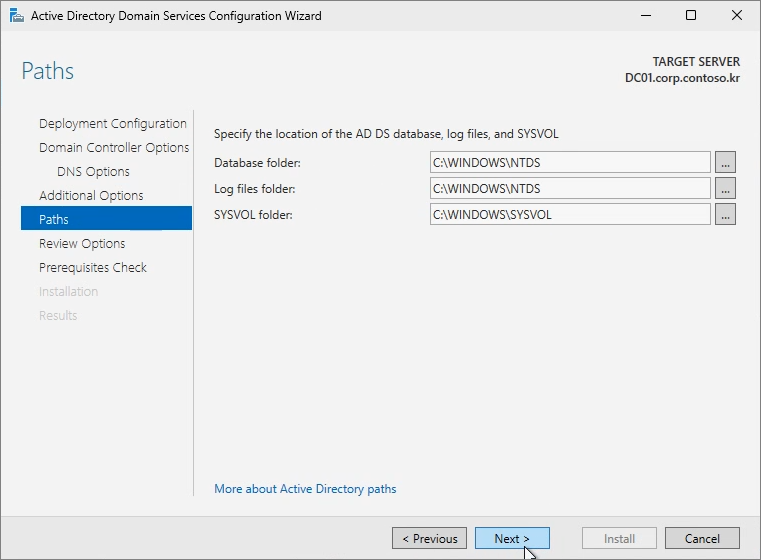
Promote this server to a domain controller


Next


Enter the Password and click Next.


Next


Next


Next


Next


Install


Click Close, and the system will reboot.


Set DC01 as the Primary DNS and DC02 as the Alternate DNS.

S and DC02 as the Alternate DNS.


Run the following command to change the Master role back to DC01:

Move-ADDirectoryServerOperationMasterRole -Identity DC01 -OperationMasterRole SchemaMaster, DomainNamingMaster, PDCEmulator, RIDMaster, InfrastructureMaster


Netdom query fsmo


Step 5. Raise Forest Functional Level

Active Directory Domains and Trusts


In Active Directory Domains and Trusts, right-click and select Raise Forest Functional Level to upgrade the forest functional level.


Raise


OK


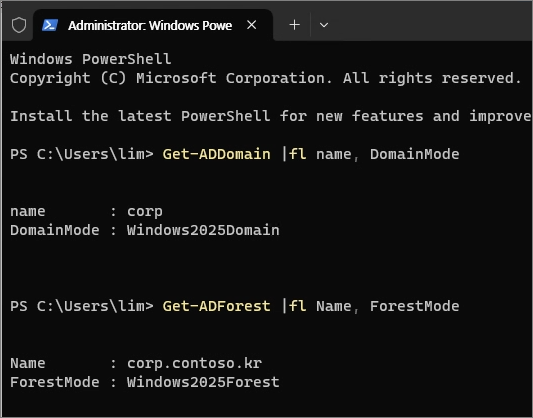
Use the following command to verify the current functional level:

Get-ADDomain |fl name, DomainMode
Get-ADForest |fl Name, ForestMode

반응형

+ Recent posts