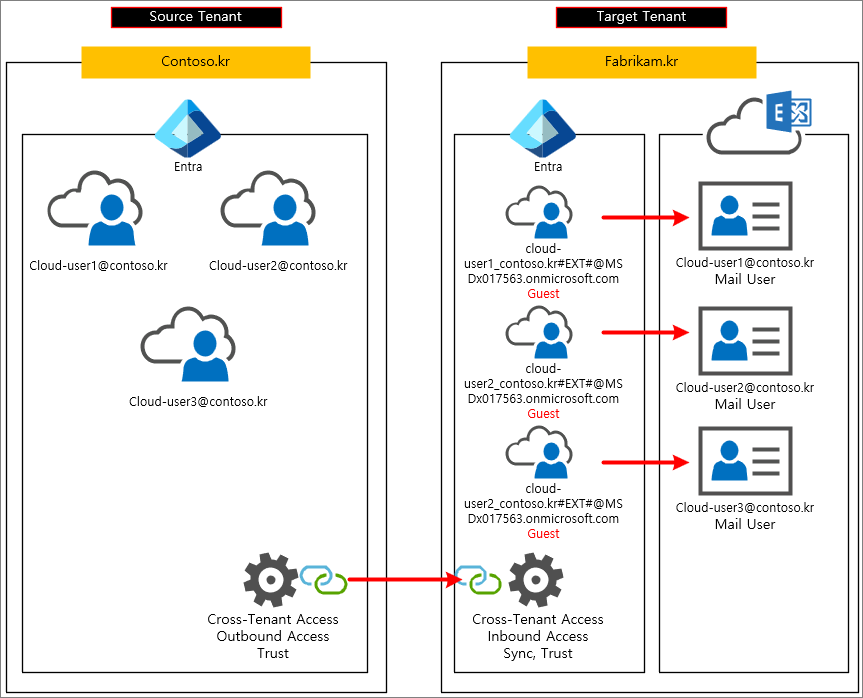
There has always been a need to synchronize address books (GAL) between companies in scenarios such as M&A, affiliated companies, or group companies, where using a single tenant is not possible. Traditionally, this was achieved by setting up servers like Microsoft Identity Manager (MIM) on an On-Premise Exchange Server, creating objects between ADs to synchronize address books. Alternatively, it could be implemented through HR integration solutions.
However, adopting MIM or HR integration solutions can be prohibitively expensive and requires specialized knowledge for management, making it very burdensome.
Recently, it has become possible to synchronize address books with Cross-tenant Synchronization. Specifically, this functionality automates the invitation of Guests.
The following content was written based on the technical documentation below.
Configure cross-tenant synchronization - Microsoft Entra ID | Microsoft Learn
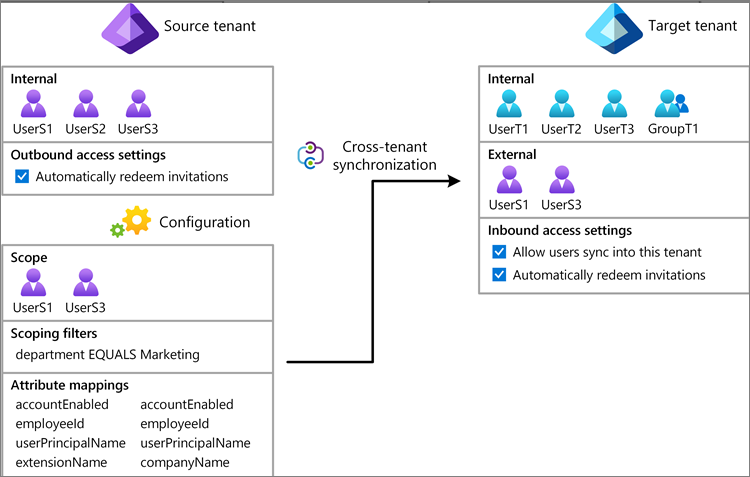
Settings are configured separately for the Source Tenant and the Target Tenant.
Step 1: Plan your provisioning deployment
First, collect the information for the Source Tenant and the Target Tenant.
Source Tenant
Domain: Contoso.kr
Tenant ID: a0c898ca-2445-4e74-ab4b-afd7916549a6
Target Tenant
Domain: fabrikam.kr
Tenant ID: afab079d-1f08-4de3-881e-435e497f923f
Step 2: Enable user synchronization in the target tenant
Entra Admin Center > External Identities > Organizational settings > Add organization
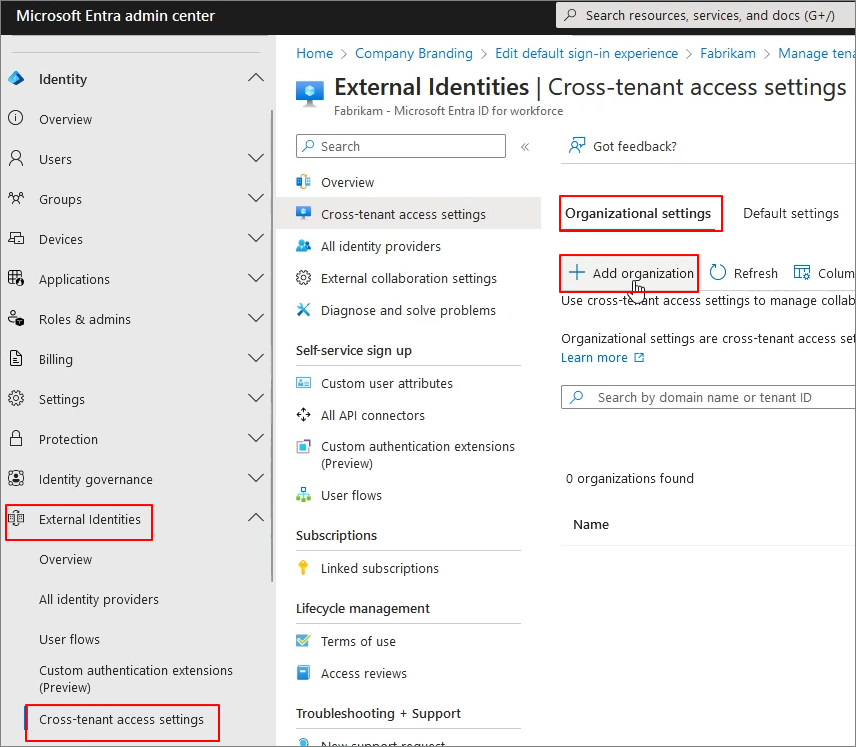
Enter the Source Tenant ID information. > Add

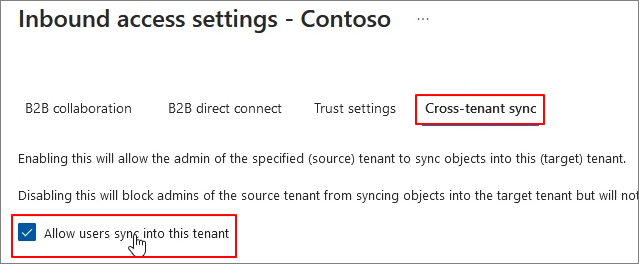
Inbound access > Inherited from default

Allow users sync into this tenant > Check
Step 3: Automatically redeem invitations in the target tenant
Trust settings > Automatically redeem invitations with the tenant [Tenant Name] > Check > Save
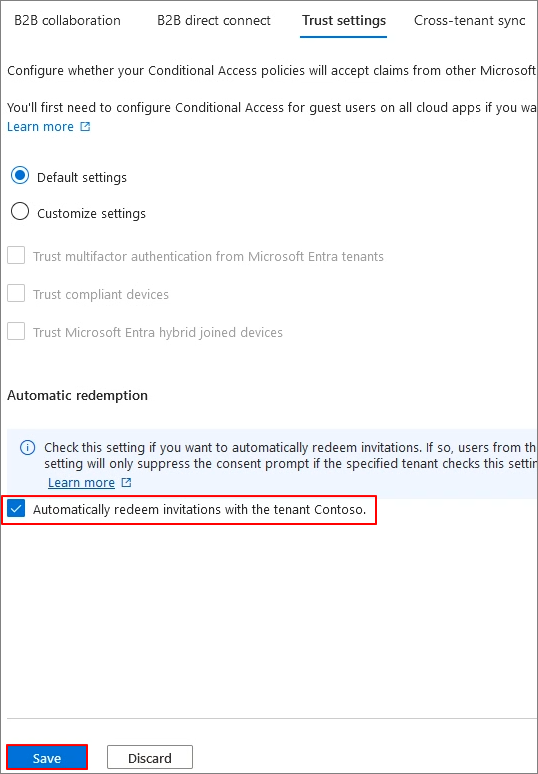
Step 4: Automatically redeem invitations in the source tenant
Entra Admin Center > External Identities > Cross-tenant access settings
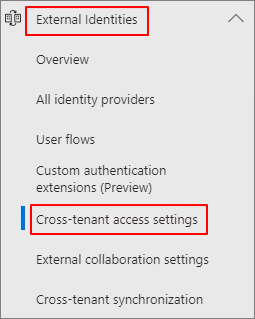
Add organization

Enter Target Tenant ID > Add

Outbound access > Inherited from default

Trust settings > Automatically redeem invitations with the tenant Fabrikam > Check > Save

Step 5: Create a configuration in the source tenant
Cross-tenant synchronization

Configurations > New configuration
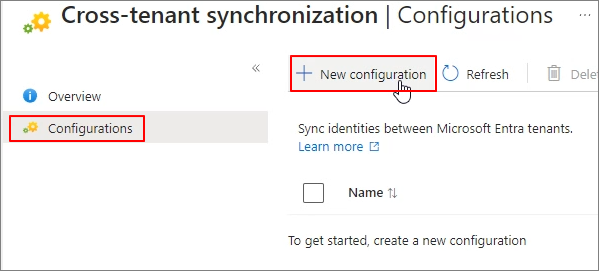
Specify the configuration name. > Create

Step 6: Test the connection to the target tenant
Get started

Provisioning Mode: Automatic > Admin Credentials > Tenant Id: Target Tenant ID > Test Connection > Save
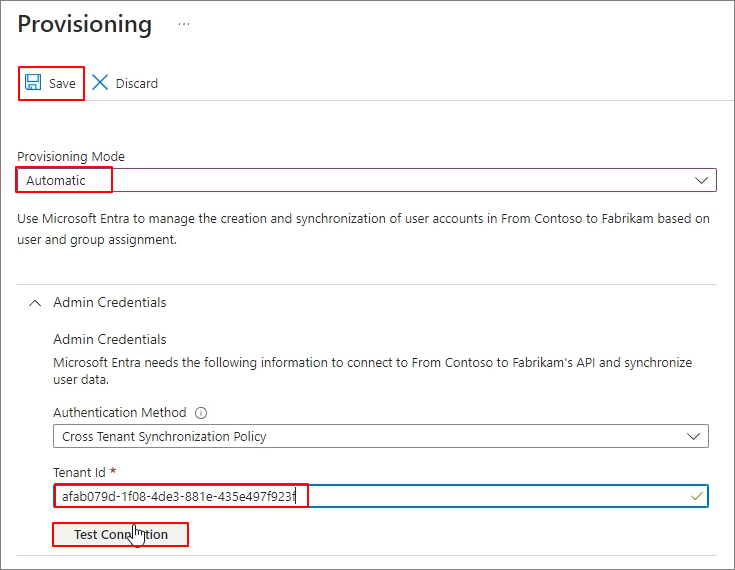
Step 7: Define who is in scope for provisioning (Source Tenant)
Provisioning > Settings > Confirm Scope > Sync only assinged users and groups:
This means specifying only certain users or groups to synchronize.
Users and groups -> Add user/group

None Selected

Specify the target. > Select > Assign
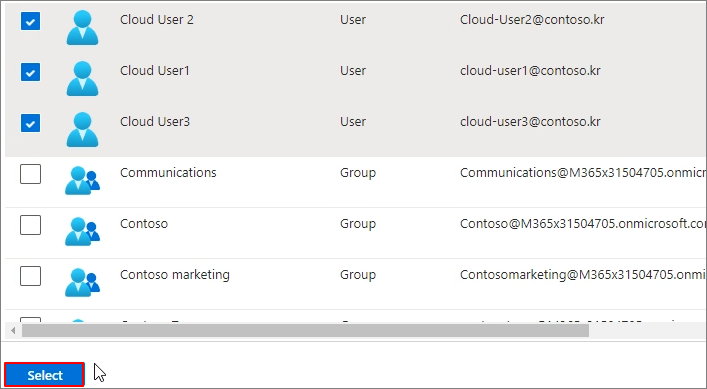
Step 9: Review attribute mappings
If, for various reasons, you do not want to synchronize specific attributes, proceed as follows.
Provisioning > Mappings > Provision Microsoft Entra ID Users

You can remove some items except for the required fields.

Step 10: Start the provisioning job
Start provisioning

Target Tenant > Entra admin center > Users > All Users
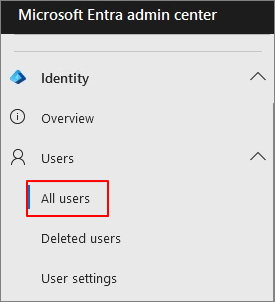
You can verify that they are added as guests as shown below.

You can also verify this in the Exchange Admin Center as shown below.

You can also verify this in the address book as shown below.

Tenant-to-tenant synchronization settings are configured as follows: In the Source Tenant, set up the Outbound settings, and in the Target Tenant, set up the Inbound settings. This synchronization process results in Guest accounts. Since Guest accounts have Mail User attributes, they can be verified in the address book.
