Previous Post
In this post, we will cover the process of publishing an ASP.NET Sample Page to IIS. Since most Microsoft solutions are based on ASP.NET, I thought this would be a necessary step before testing Graph.
Launch Visual Studio.

File -> New -> Project

ASP.NET Core Web App (Model-View-Controller) -> Next

Next

Verify that the Framework is set to .NET 8.0 -> Click "Create" (You will need to install the Runtime and SDK version 8.0 on IIS to match this setting.)

Solution Explorer -> Controllers -> Add -> Controller
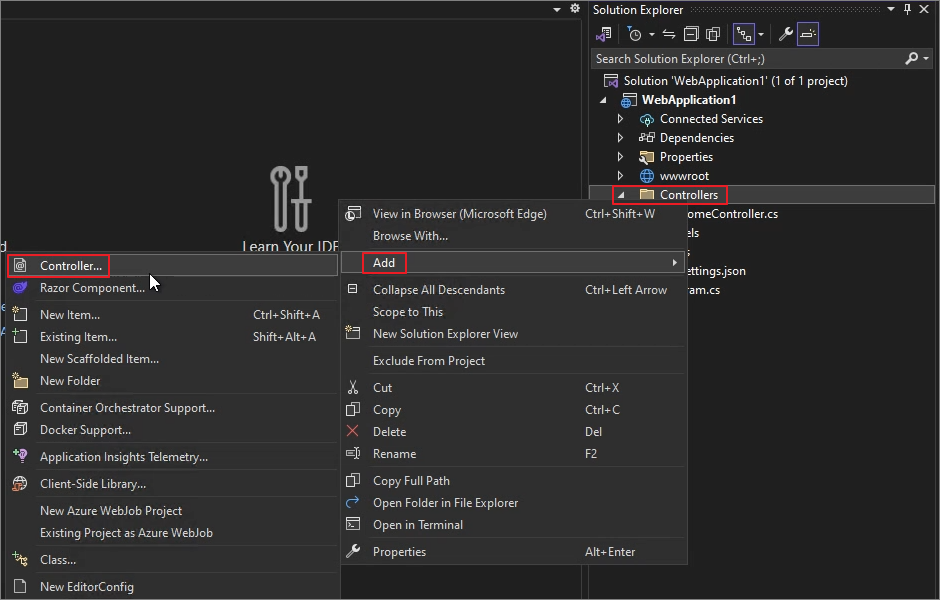
MVC Controller - Empty -> Add

Name the controller as HelloWorldController. -> Add

Right-Click on Views -> Add -> New Folder

Name it HelloWorld.

Right-click on HelloWorld.-> Add -> New Item
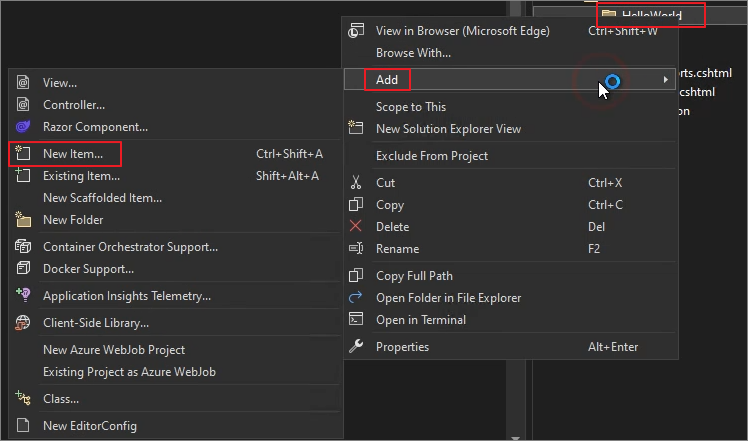
If the following options appear, select Show All Templates.

Razor View - Empty -> Confirm the name as Index.cshtml. -> Add

Verify that it has been created under the HelloWorld folder.


다음과 같이 입력합니다.
ViewData["Title"] = "Index";

<h2>Index</h2>
<p>Hello from the HelloWorld view!</p>
Debug -> Start Debugging

If any messages related to SSL certificates appear, click "Yes" for all of them.
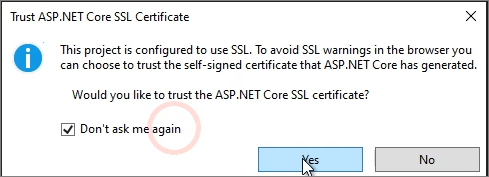
Yes

Yes
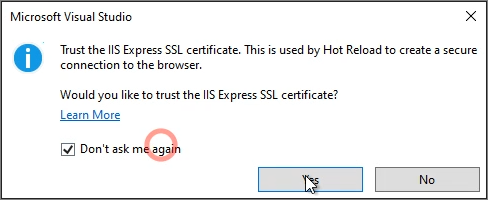
Yes

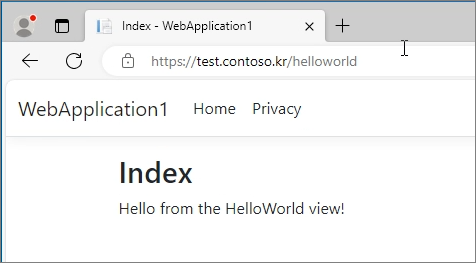
The sample page is now accessible in Edge.

When you access /HelloWorld, it is displayed as follows:

Now, let's proceed with creating the sample page as a site in IIS.
Build -> Publish [Project Name]
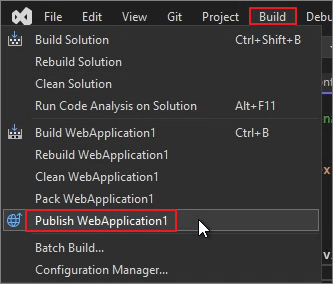
Web Server (IIS) -> Next

Web Deploy Package -> Next

Specify the location. -> Site name 지정 -> Finish

Click Publish.

It will be generated as shown below. Now, copy the files to the IIS server.

After copying, extract the files.

After extracting, move the files to a subfolder as shown below -> Copy the folder and files to the root directory (C:\Sample).

Copy completed.

Launch IIS Manager.

Sites -> Add Website

Proceed with the creation process as shown below. (For the certificate, specify the one that was previously created.)

Confirm that the creation is successful.

Application Pools -> Double-click on **Sample**.

.NET CLR version -> Change the setting to **No Managed Code**.

IISRESET
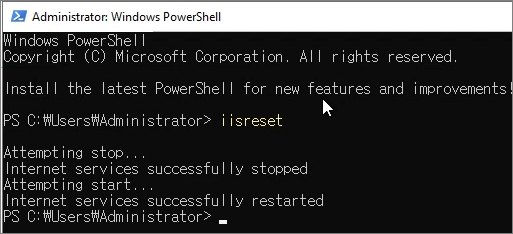
Access localhost to verify the setup.

Once DNS registration and certificate binding are completed, test the published URL.
